The first step was to install more nutplates, something I will get very used to in the near future.

They were all the squeeze type, so no problem and quite easy to get at, except for the ones next to the center section, but with a little fiddling even those worked out. I really noticed the need for the smaller flat dies starting with the flaperons and now with the fuselage, so if you get the big ones with an Avery kit, go and order smaller ones as well as you will need them!
The next step was riveting the rear spar receptacles to the rear bulkhead. Again the wedge tool from Avery proved to be very helpful, also to seat the rivets before pulling them.
And quickly they were riveted.

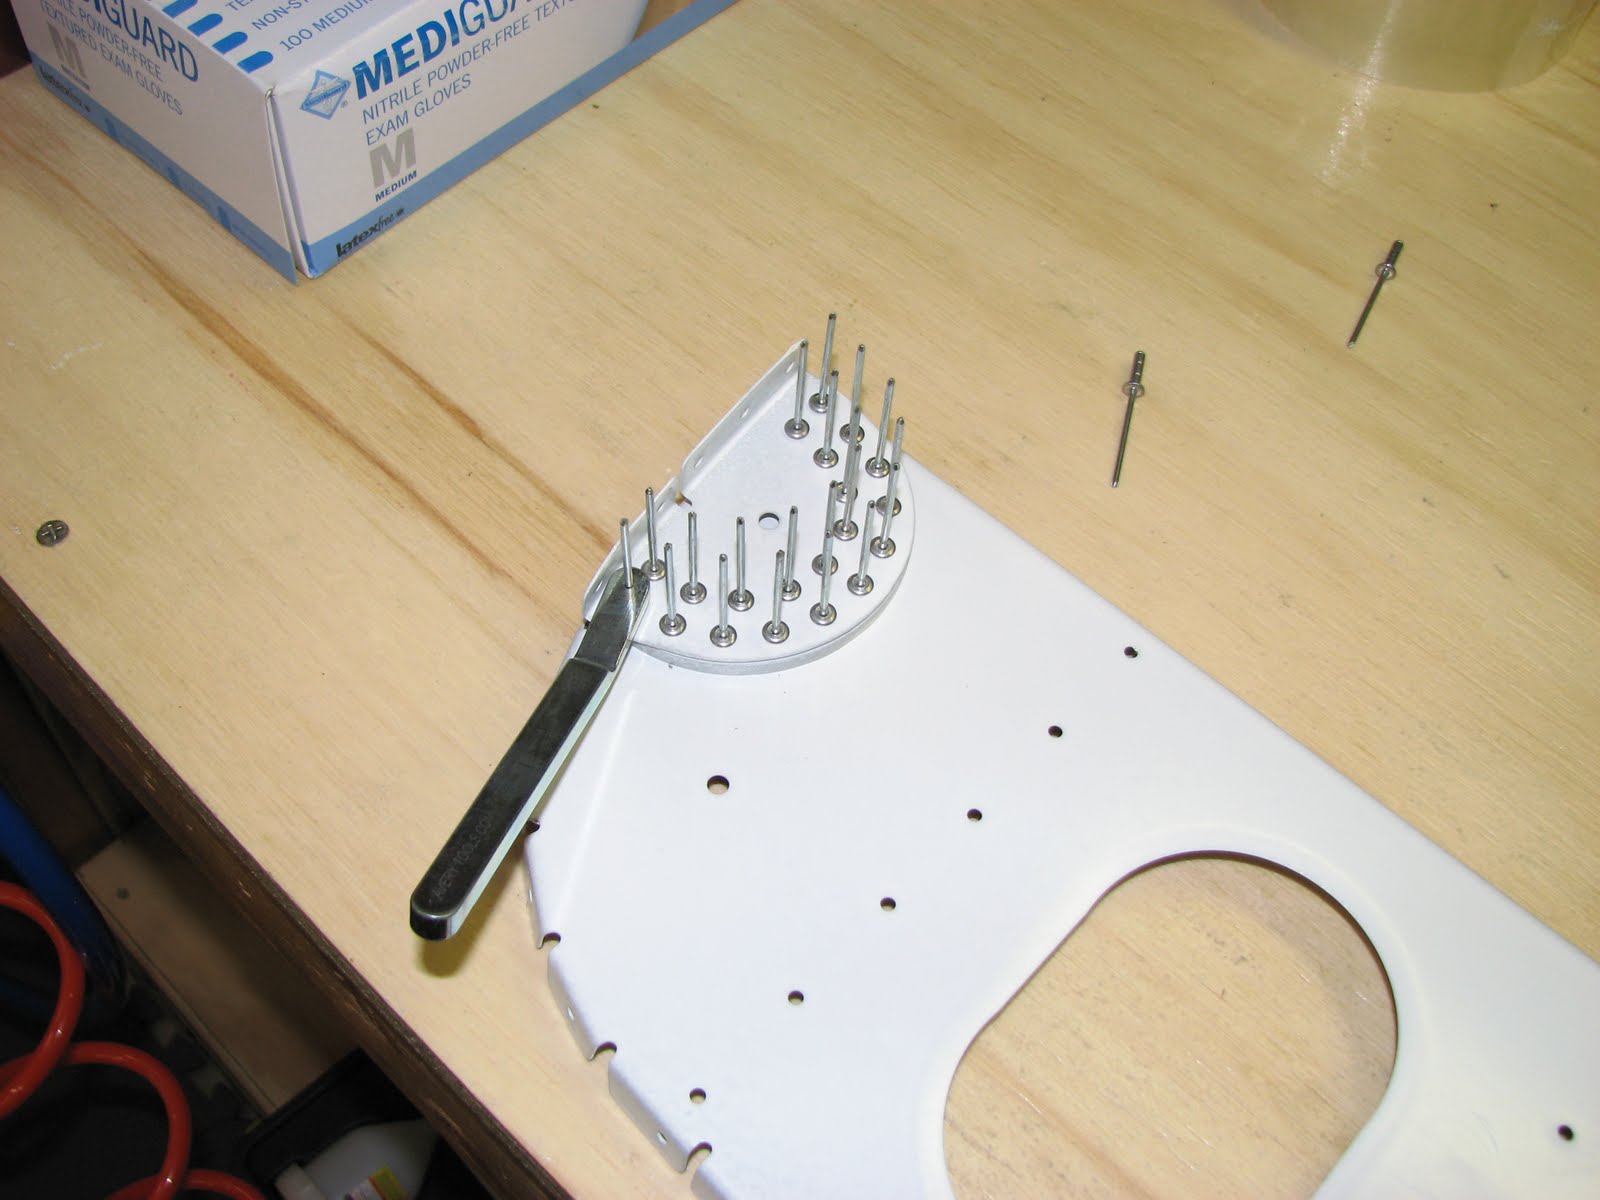
Then it was on to the bearing brackets. Those had to be put together first and after my bad experiences with these kind of brackets and this kind of bearing when I built the rudder, I sure checked them first in a vise to see if they'd still be movable when the rivets would squeeze them tight. This time they were fine and even with some of the primer in the bearing ring, there was no issue.

It only took a moment before the pneumatic riveter had squeezed them perfectly and turned them into this:

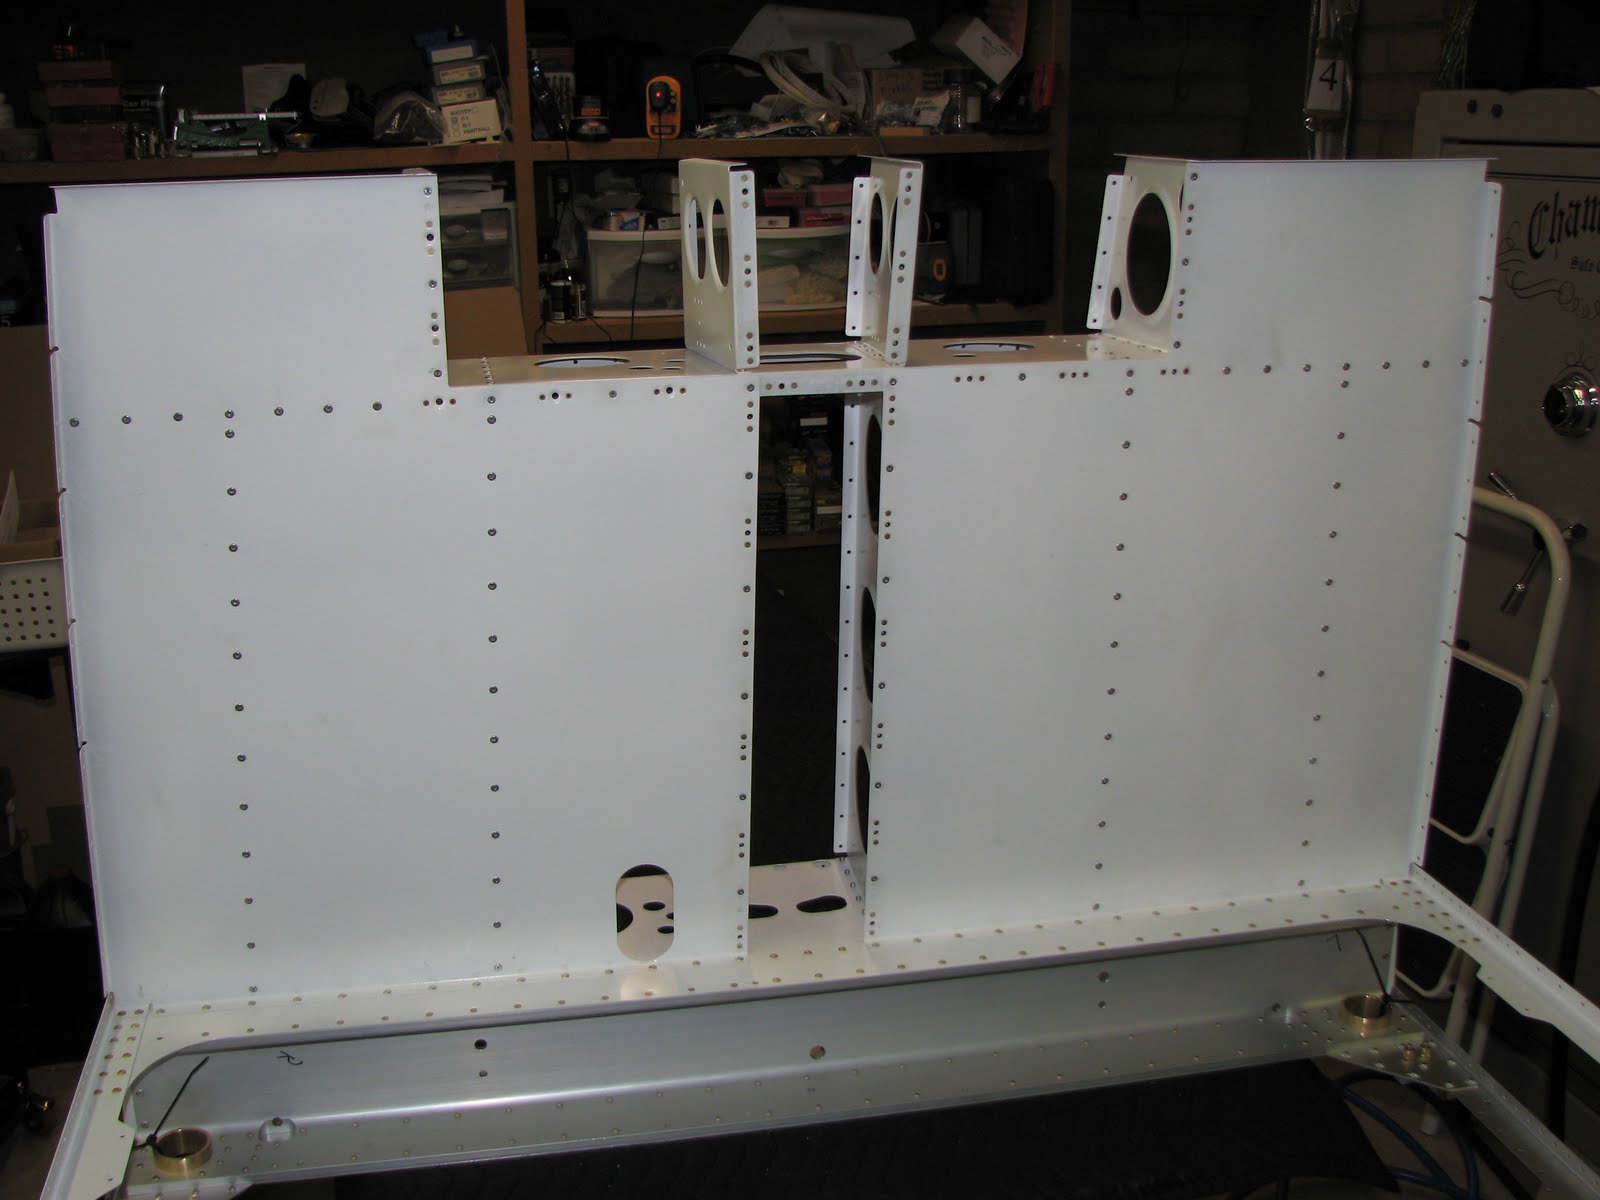
Then the rear bulkhead was about to get riveted to the rest of the structure. Clecos were put in place.

Hm, see that? I mean the slight curvature of the ribs, that increases the further you get to the left or right of the middle? Take a closer look...

Yeah, it's not an illusion. The cuts in the flanges of the outer ribs allows the lower flange to bend a bit and shape to the taper of the fuselage while the upper flange is stiff and straight. Very cute detail.
Anyway, don't forget to put the inner ribs on that will hold the bearing brackets before the you pull the rivets on the rear bulkhead! Ask me how I know... This is how it should look like:

It is then that you rivet the last two floor ribs on.

And that all was the easy part. Now you have to be really careful as the next step looks easy but caused me a lot of pain trying to drill out two of these hollow rivets for nutplates - you know the type that usually has it's mandril breaking off.
Well, this time it was actually me causing the problem but, boy, was this one hard to fix. So you want to avoid this happening to you. You are again supposed to install more nutplates. The ones that go into a flange that is accessible from the outside are the easy AD3 squeeze type. The ones that are on the bulkhead are not accessible for squeezing and so they use the pop-style CR264 rivets. I made sure to use a riveter that doesn't have a problem with the mandril breaking off but I overlooked twice that the rivet wasn't actually going through the nutplate's rivet hole before pulling the rivet. The rivet instead caught against something in the hole and slightly pushed the nutplate away. Something I didn't feel as I was pushing the rivet as it was in the riveter, using the riveter as a handle. So I pulled it outside of the nutplate but inside the hole in the skin.
Easy fix you might think. Just drill it out. Yeah, that's what I thought - until I saw the rivet spinning in the hole when trying to drill it. The reason is that the rivet has such a light pressure on the hole that it easily slides in it. I don't want to go into too many details but it took me almost an hour getting those two rivets out and doing this again. You bet I will triple check in the future that these little devils are correctly seated before pulling the trigger again!
This is how it came out despite this mess:
Well and then it was on to the last chapter of which I only made a photo once I was done. Maybe because of my blood pressure still being high after this rivet drill out incident or maybe because I thought you might get tired looking at too many small steps being photographed. It really wasn't much to accomplish that last step anyway, as all the rivets were easy pull types.

Bearing brackets and the pulley bracket assembled. And that - for now - concludes the aft fuselage floors.


No comments:
Post a Comment