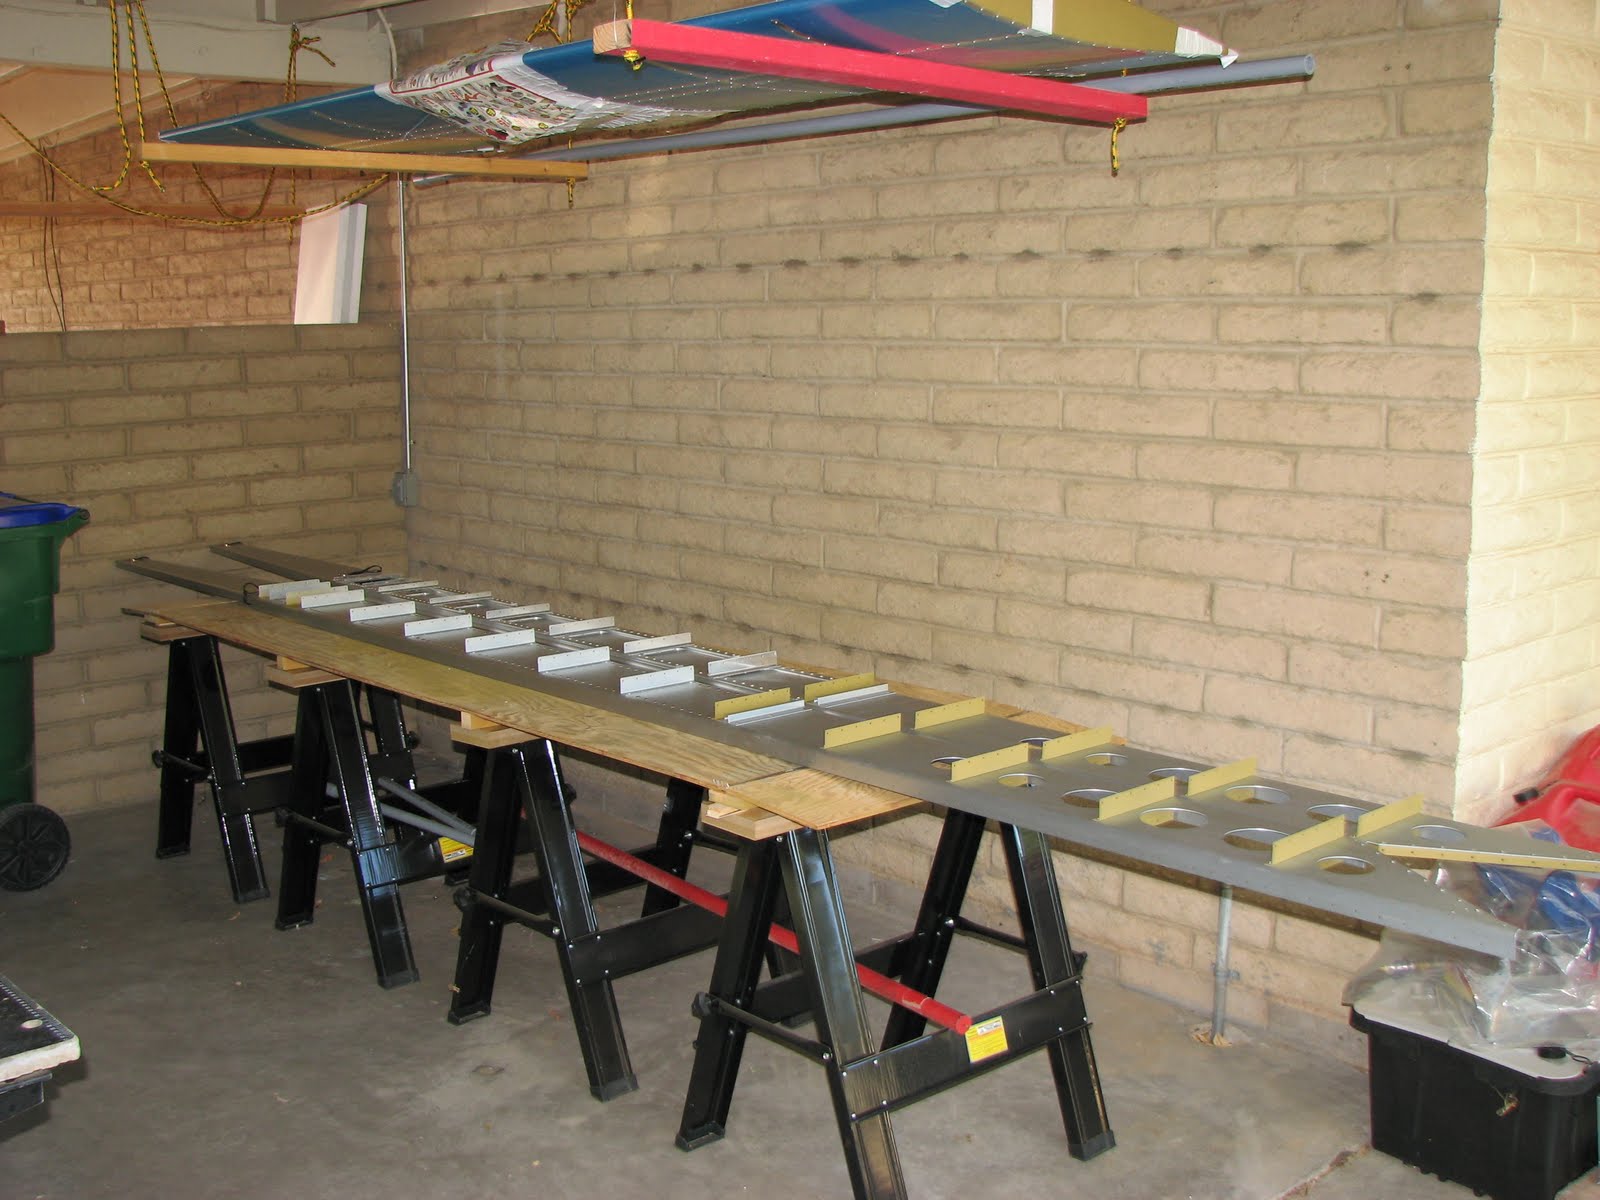
There's really not a lot to it. The section starts with drilling and tapping BOTH sides of the AEX tie downs that are already riveted to the spars. I guess they do it on both so you could lift the plane for storage in a hanger that has the required pulleys. I did it although I doubt I will drill the hole in the skin to give access to it as we don't have these kind of hangars over here.
I used my conventional electric drill for this job this time. It went very well as the drill has a very sensitive "throttle" and allows me to run it very slow.

Then on to the riveting! Just make sure you understand the confusing instructions and drawings correctly before pulling those rivets. It took me a while to get comfortable with the language again but after a little bit of investigation of the actual spar to work on I think I got it right. Make sure you find those 3 LP4-4 rivets that are on the inner side of the left spar. The rest is just LP4-3 everywhere. Some said they were slow on this part because they had to use the wedge tool for riveting a lot. Well, I didn't use the wedge once and I was done in less than 3 hours.
I used that little manual riveter that came with the Avery tool kit and I'm getting really comfortable with it. It gets in all those tiny places and not having to fiddle with the wedge, drop, pick it up, etc., seems to be faster. On the right side I discovered a good speed up that you might want to use.
When installing the outer Attach Brackets, cleco every other hole starting on the outmost hole, then pull two rivets with the little manual puller, remove the cleco and pull the three left over rivets with the pneumatic puller while your free hand is pulling back the bracket to give clearance. Worked great for me after I discovered that pulling back on the bracket doesn't deform it permanently. If I had done that on the left spar as well I think I had saved half an hour.
Oh, and while you're at it... If you think that riveting from one side it tricky, take a look at the other side and see if you can't get there easier. This is why you will see shop head and manufactured heads on the same side of the spar side by side. No one is ever gonna see the inside of the wing anyway...
When you install the clecos for the outer Attach Brackets it is easier to work on the spar when it's positioned upright. I used two pieces of 2x3 scrap wood and a clamp to widen the inboard part of the spar and allow it to sit secure on the sawhorse.

After clecoing it's easier to rivet when the spar is lying on its broad side again. Here's the result for the outer Attach Brackets:

The inboard part is a bit confusing in the instructions I think. Anyway, here are my results. If you think I am wrong, let me know. First the front of the spars.

And here's the aft view.

And that was Section 13. Hard to believe but true! Overall 9 hours worked on this section!
I put the spars outside again as looking at Section 14 tells me that there's more work coming up that needs me to switch between my two workbenches in the shop and the spars would be in the way.