Sunday, December 2, 2012

Cleaning Up the Cowl

The last steps are upon me, regarding the cowl work.

I had removed the clecos (greased with Carnauba wax) holding the cooling duct in place while the resin was curing. I lightly sanded all glassed areas and evened out high spots on the in- and outside of the cowl.
Then I filled the holes with flox and resin and used the rest of the flox to fill the gap between the modified oil cooler mount and the lower cowl.

I also installed the oil cooler which I had left out during the main resin action as I didn't want to mess up the fine structure of the cooler with goopy resin.
It turned out that I should have installed it anyway (maybe with some additional protective blue tape) as the frame did not sit flush on the mount. My solution was to treat the front face of the frame with Carnauba wax and then mount the cooler onto a bed of RTV I had applied to the mount.
The idea is to let it cure and then carefully remove the frame and leaving an air-tight seal behind.

Applying the seal strips will be next. That will take another 24 hours of curing before I can finish up the cowl.

Sunday, November 25, 2012

Cooling Duct Glassed In

As I had said before, when you think you're done with the lower cowl, that's when the work on it really begins.
In my case it was even a bit more challenging as I wanted to do the oil cooler modification at the same time - thinking it would be easier to do it at this stage in the build.

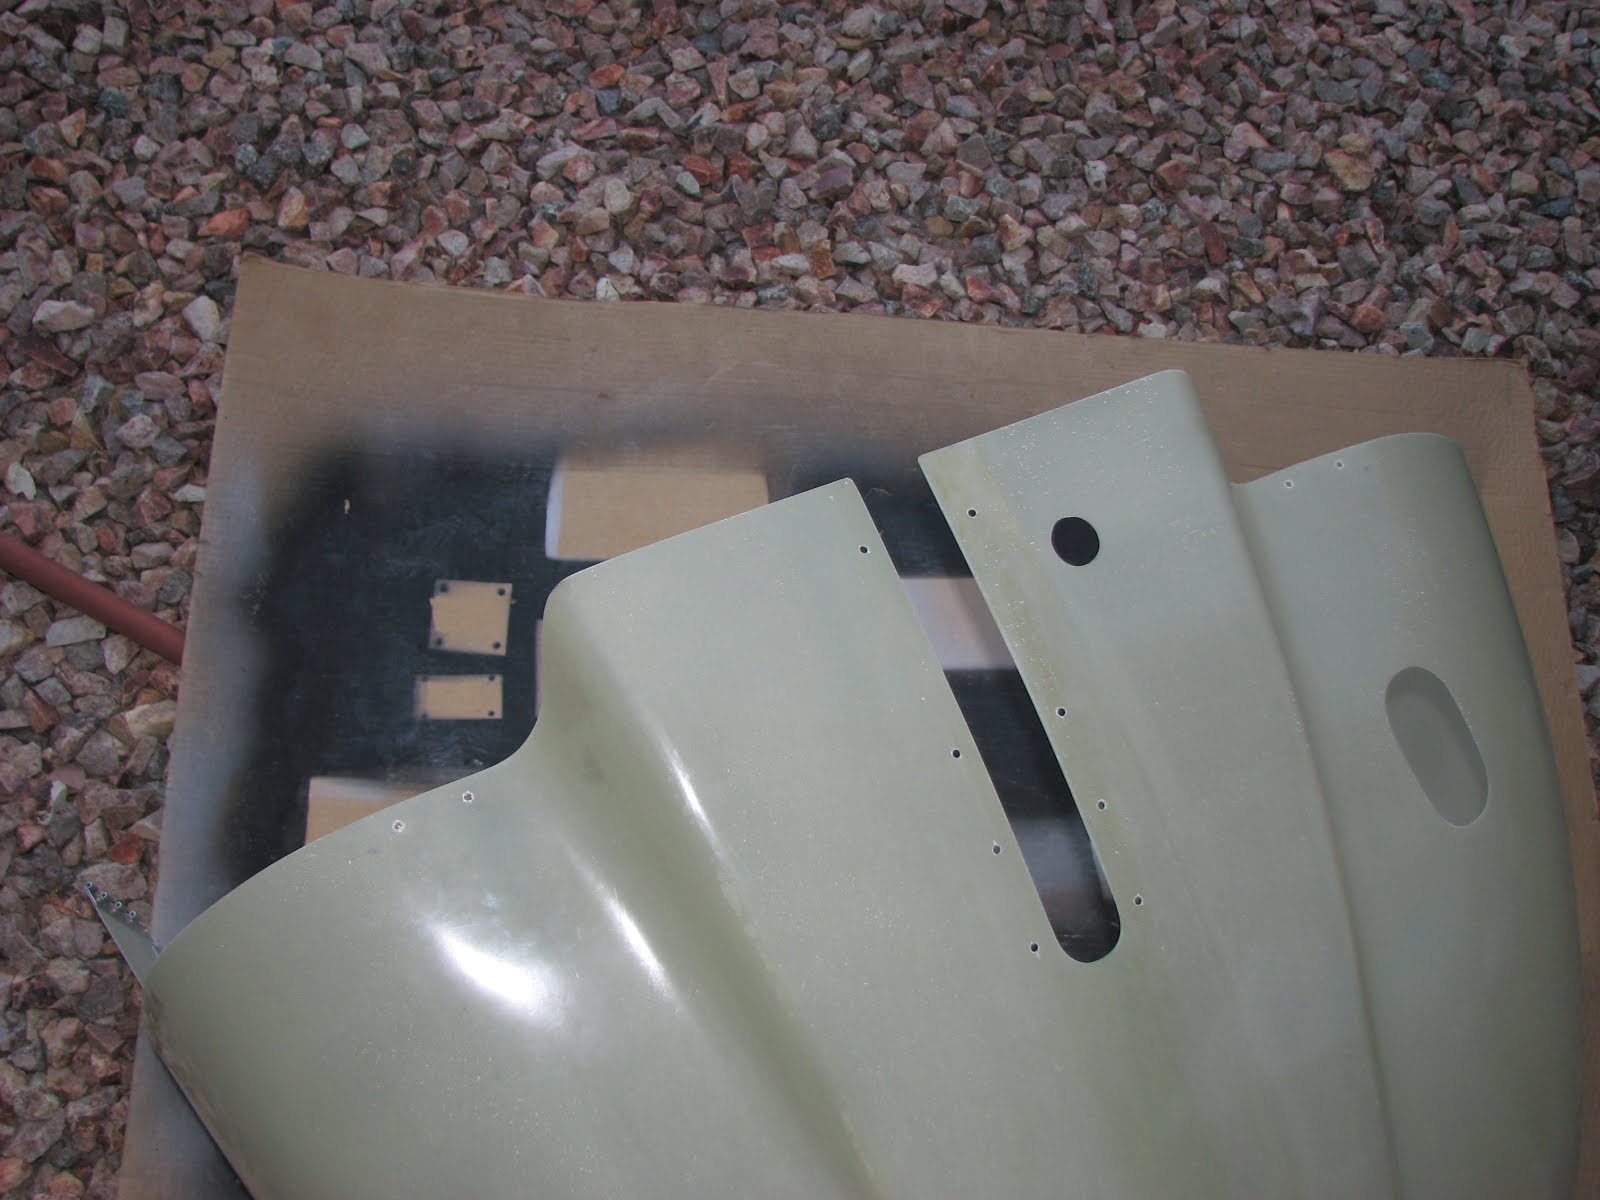
The modified cooling duct turned out to be usable after the second coat of filler had hardened. I gave it another light sanding job and declared it good enough for production.

Then I installed the brace that will support the center aft edge of the lower cowl. Just in case that might affect the following fitting session.

The cowl was installed with the cooling duct clamped to the upper left edge of the cowl.

The fit was pretty good and I decided to leave as it was.

The only issue I had was with moving the oil cooler forward. It turned out that there are two small extrusions on the bottom of the Rotax that are not being used for anything but they are interfering with the yet to be installed oil cooler frame.
To provide sufficient clearance I used some wooden buffers.

That even provided a slightly better fit with the front air inlet.

So I went ahead and drilled the upper flange of the air duct and clecoed it.

After adjusting the interface frame that ensures an air tight seal to the radiator, I drilled the first hole into the lower flange. Finding that flange is easy if you get a light inside the cowl.

The cowl came off and I took a closer look at how my modification would change the fit and the glassing procedure. You can see that the gap between the bottom of the oil cooler flange and the cowl needs some significant filling to build it up.

I marked the 5/16" of required clearance between the aft end of the duct and the radiator face by eyeballing the necessary trimming amount. This is not very delicate as it will get glassed into the interface frame and you get quite some leeway that way.

It looked like I had that trimmed enough for a first attempt to get the interface frame in there.

Off came the cowl again (I stopped counting at some point) and I turned it over to drill the rest of the bottom flange of the cooling duct.

I put the spacers on the front face of the radiator as per plans. I later learned that putting an additional spacer on the bottom part of the frame does help.

After a few repetitions of cowl-on/cowl-off the required clearance was achieved. Please note that my interface was offset to the left of the aircraft when referenced to the radiator face. That would have created a bad seal and I needed quite some time and trimming to put it more to the inside of the cowl - while maintaining the 1/4" clearance.

You can see the gap that this adjustment created on the inside fit of the interface to the cooling duct in the following picture. This would need to get filled with flox.

Drilling one hole in the side flange of the interface was quite a tricky task as hardly any area was accessible. This cleco was important though to maintain the delicate positioning for final drilling and a good air seal.


I took it all off again, finished drilling the interface frame and marked the outline of the cooling duct flange to the lower cowl.

The cowl went back on to check the final clearance between interface and radiator face.

What looked simple in this pictures is the result of multiple on-off cycles of the cowl, a lot of additional trimming and re-drilling and clecoing holes in the interface frame. So, don't let this end result here fool you. You might need to do something to make it fit well enough.
This was the final step before I glassed the cooling duct in. Due to my modifications, I slightly deviated from the plans in that I was trying to attach the duct flanges to the cowl and the interface frame to the duct but not filling the gap between interface and cowl at this point. I simply had not enough time to get all that done before the pot life of the resin came to an end.
I did glass over the front upper part of the duct and the cowl though. The need for this was because the installation of the duct created a weird misalignment of the lower cowl that removed the clearance to the spinner backplate in the right side that I had diligently created during the initial cowl fitting. I pushed back the cowl in that area while the resin was curing and the glass over the duct in that area helped keeping it in that correct position.
Sorry, no photos of that stage as time was way too short to mess with the camera.

After a day of resin curing, DO NOT FORGET TO INSTALL THE COWL AFTER GLASSING THE DUCT IN, I took the cowl off and cleaned up the leftover work from the day before.
This consisted of glassing the area between the interface frame and the cowl and adding the glass strip on the inside of the cooling duct, between the cowl and the interface frame.
Also, I got a chance to fill the base of the oil cooler flange with flox from inside the cowl and from the air inlet side.

Now, the cowl is installed on the plane again and the resin is curing. The last step will be to install the oil cooler and see if all the measures for ensuring sufficient clearing have succeeded.

Tuesday, November 20, 2012

Second Coat of Filler

Not much to report from the cooling duct. I sanded it when I got home tonight. The Superfil is a nice filler. Very hard, smooth surface and sands very well. I applied a second coat, this time with a squeegee to get it even with the surroundings.

If it hardens as it looks right now, I will leave it alone after another light sanding.

Monday, November 19, 2012

Filling the Gaps

I could not do much on Sunday as I had to fill the gaps left over from re-glassing the oil cooler mounting plate. It's not technically necessary but the side exposed to the cooling duct will be visible and I also would like to be able to clean out any crud that might build up over time.
I used SuperFil which I had bought from Aircraft Spruce a while back to eventually use this stuff on filling the holes in the pull rivets - at least the ones on the sides and the surfaces facing up (and therefore can hold water and lead to the stem part to rust). I had no experience with SuperFil and the can doesn't say anything about curing time, pot life or any such things. All it told me was how to mix the stuff and that was it.
It turned out that it took a full 24 hours for the stuff to cure. And I won't get to sand it for another 24 hours.

This picture shows the application right after I was finished smoothening it out. The texture is a bit dry and therefore it's not easy to get it evenly applied. It settles after half an hour and develops a nice, almost wet surface that hardens out like that.
The next picture shows it after 30 hours of curing.

The next step is now to roughen up the shiny surface of this blue stuff and then - hopefully - apply the last coat of it to make the cooling duct smooth and paintable. Then it will get aligned with the radiator and then installed to the lower cowl.

Saturday, November 17, 2012

Modified Cooling Duct

I should not have called the previous post "Cowl Work Finished" as this was too general of a term, implicating that all the cowl work would have been completed by now, which I learned today is far from the truth.
The outer cowl work and fitting might be done but therefore even more work has to be done inside the cowl, the lower cowl that is.
The next step in section 49 would be to fit the cooling duct to the face of the water cooler. Before doing that I decided that it was time for the planned modification of said cooling duct.
Many pilots in areas with really hot summers have reported problems keeping the oil temperatures in reasonable areas, at least on climb-out. The analysis showed that the oil cooler apparently is located too close to the hot muffler which reduces the efficiency of the oil cooler. To move the cooler away from the muffler one has to modify the cooling duct where the cooler is mounted to and allow it to move at least an inch away from the muffler.

I marked the areas which had to be cut and the ones that had to be removed to allow the cooler to move that much forward.
I also trial fit the duct in the lower cowl to see how this might affect the fit.

Then I started cutting with the Dremel and removing fiberglass.

Two sides where matched pretty nicely but one wide gape has to get glassed over to close it up again. The fit to the lower cowl was still reasonable.
I glassed the two matching sides first and let it cure half a day. Here it is right after applying the Dacron cover and still wet.

Then, about 6 hours later, I could remove the Dacron and handle the piece enough to apply the glass layer for the gape. I covered the flange of the cooler with tape so I couldn't roughen up the smooth surface.

Now it sits in the shop in front of a space heater that heats the area up for faster and stronger curing. I should be able to fill and smoothen the side that builds the inside of the cooling duct by tomorrow morning.

Friday, November 16, 2012

Cowl Work Completed

Drilling those last 4 holes on the bottom of the lower cowl took me 90 minutes. The vast majority of this time went into figuring out how to shine a light from the inside of the cowl through the nutplates on the left side onto the fiberglass fo the cowl as to mark the hole for drilling. With the engine in the way these nutplates are not accessible to a drill bit from the inside.

This little flashlight and some blue tape were the final solution that seem to have worked.

I haven't remounted the lower cowl yet as I will now jump back to section 49 to finish the installation on the cooling duct and the oil cooler before putting the cowl back on.

First it had to come off anyway as I had to open these holes up to #19 and the cowl needed a tad more trimming for clearance to the skin and the nose wheel leg.

Tomorrow I will work on moving the oil cooler at least 1" forward to avoid cooling problems in Tucson's hot summers and I hope to be able to install the cooling duct as well.

Monday, November 12, 2012

Cowl Bottom Bracket

The Cowl Bottom Close-Out Bracket in Section 38, as per plans, would be installed before the engine could block the access to its top for match-drilling. I still don't understand though, how Van's expects you to accomplish a good cowl fit, particularly around the spinner plate, without the engine installed as a reference point.
Anyway, I decided to fit the cowl after the engine installation and so I had to work around the accessibility problem.

Acess between the cowl and the cylinders on the left side was pretty much impossible for holding a drill. The right side was even worse and so the only option left was the front.

That worked ok, although I had to resort to an angle drill and access from the bottom aft area for the aft holes.
For drilling the first holes, before I could support the bracket with screws in the match-drilled holes, I resorted to clamps in the aft area.

After dimpling the bracket I decided to scuff it and prime it as I expect a lot of crud to deposit between the fiberglass and the bracket while condensing water might running down the inside of the cowl bottom.

I even applied a second coat after riveting the nutplates in.

While the primer was drying I removed the cowl to do a bit more trimming on the bottom. The cut-out for the nose gear leg was a bit too tight on one side and the aft area still had some spots of interference with the skin that had to get cleared.

I put the bottom cowl back on and will match-drill the two holes on each side that will finish the bottom cowl work when the primer on the bracket dried and I can install it.

Sunday, November 4, 2012

Top Cowl Finished

Continuing from where I left yesterday, I started by installing the nutplates in the lower cowl that hold the side hinge pins and the top cowl.

Drilling the nutplate attach holes was quickly done and the riveting went just as fast.

Then I started on the oil door installation. First I cut out the door and deburred it and then it was time for a first trial fit. Make sure at this point that you have enough clearance between the door and rim of the recess where the hinges are. The door tends to move slightly backwards on opening and then catches on any high edge in that location. Ask me how I know ...

Cutting and deburring the hinge parts was up next, followed by riveting them onto the oil door.

The camlock fasteners needed a match drilled hole of 1/4" through the holes in the oil door into the fiberglass. I secured the door with tape during that process.

The camlocks were quickly riveted in place.

The door fit nicely - still.

Match-drilling the attach lugs for the hinge was up next.

And when I installed the door and tried to open it, it would not budge! What went wrong? It turned out that the outer hinge arm caught on the fiberglass upon opening. I removed a lot more fiberglass around the edges and sanded down the rim right between door and hinge and the door finally opened without catching on anything.

I installed the cotter pins after tightening the screws so the door would stay open even during a breeze.
This concluded the work on the top cowl as far as I can tell. The next steps will focus around completing the lower cowl.