One of the tasks that seemed doable with out access to the panel (Remember? The canopy is kind of in the way...) was assembling the map box. This task appeared quite labor intensive and was filled with little traps so I had laid it off for now. This was a good decision as the 29A section revised the map box assembly and also asked for new updated parts (the right panel and the mapbox door) that I had already pre-ordered, thanks to Bill Hollifield who had told me about these changes ahead of time.

This shows the tricky step of match-driling the hinge and the door. It really was not big hassle and so I believe that the new map box door that had a little template attached to it for proper alignment, made all the difference.

A little bit of countersinking added to make the surfaces smooth and I soon had this.

Finishing up the rivets on the map box door was easy.

The door was then ready for painting. I'm not sure what to do with the panel at this point, so I just put it away and assembled the actual map box.

And countersunk the holes for the screws that will attach the panel to the fuselage. These screws were pan heads before but Van's decided to use flat heads now and so these holes need to fit the head of a AN507C632 screw.

Now the right panel was ready for painting too - laid aside as well.
It was time to look at the bridge of glass I had built yesterday.

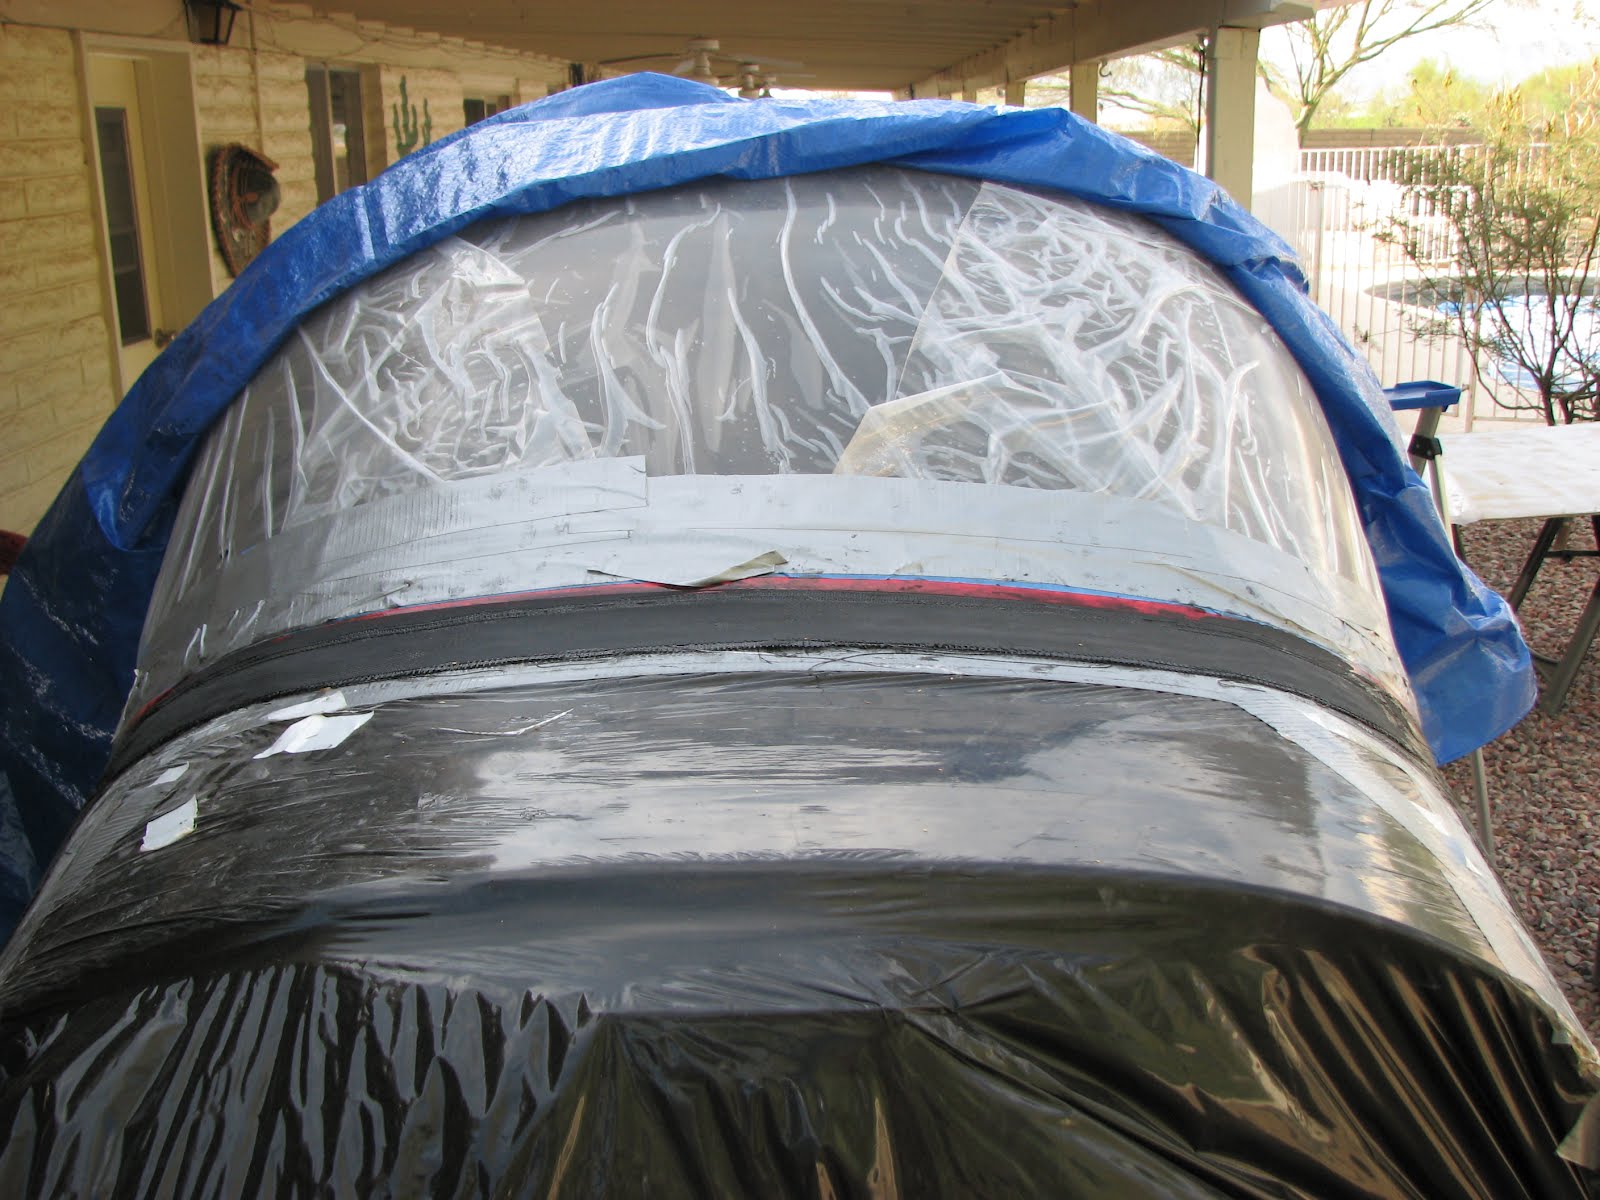

The weave showed through and appeared to be quite rough. Also I didn't like the fringed edge towards the canopy that wasn't as clean cut as I wanted it. I decided to mix some epoxy with micro-balloons and dye and fill it now, before sanding. There were also some areas that needed a smoother transition and the thick mix of resin appeared great for this purpose too.
I immediately covered the wet areas with Dacron again to make it even smoother.


This time I had waited until the fuselage was in the shade before working with epoxy but there was so much to fill and the resin started gelling while I was just finishing up. There is really not a lot of time to work with this stuff. Anything bigger than the skirt and it would be too much for one run.


No comments:
Post a Comment