After a very long day in Phoenix yesterday and a Skype chat with my parents this morning, particularly with Mom for Mother's Day, I got to the shop in the AM. The shop had kept the cool air from the night pretty well, despite the heat that was already building up at 11 am. I turned the A/C on and closed the door for a nice cool workshop day.
I had two thing to do to ready the panel for painting. One was known and the other one was mainly undetermined. I started with the known task of creating the cutout for the little nodule in the lower left hand corner of the altimeter.
I used the Dremel tool with a milling insert for rough cutting and then the sander insert to trim very slowly. The rest was done with the 1" SB deburring wheel on an air grinder. I'm a little proud of myself that the cutout turned out to be really nice. I took a break and came back for another session working on the center panel.
The center section needed a Garmin mount installed to accommodate my backup GPS aera 500. I did not want to install it in the panel but use a mount that supplies power to the GPS from the alternator or plane's battery and which allows me to quickly detach the GPS and take it with me - to a possibly waiting rental car in a cross-country trip.
The mount requires 4 mounting holes drilled into the panel and that's it. Additionally I wanted to route the cables from the mount through the panel piece to not have them clutter the cockpit.
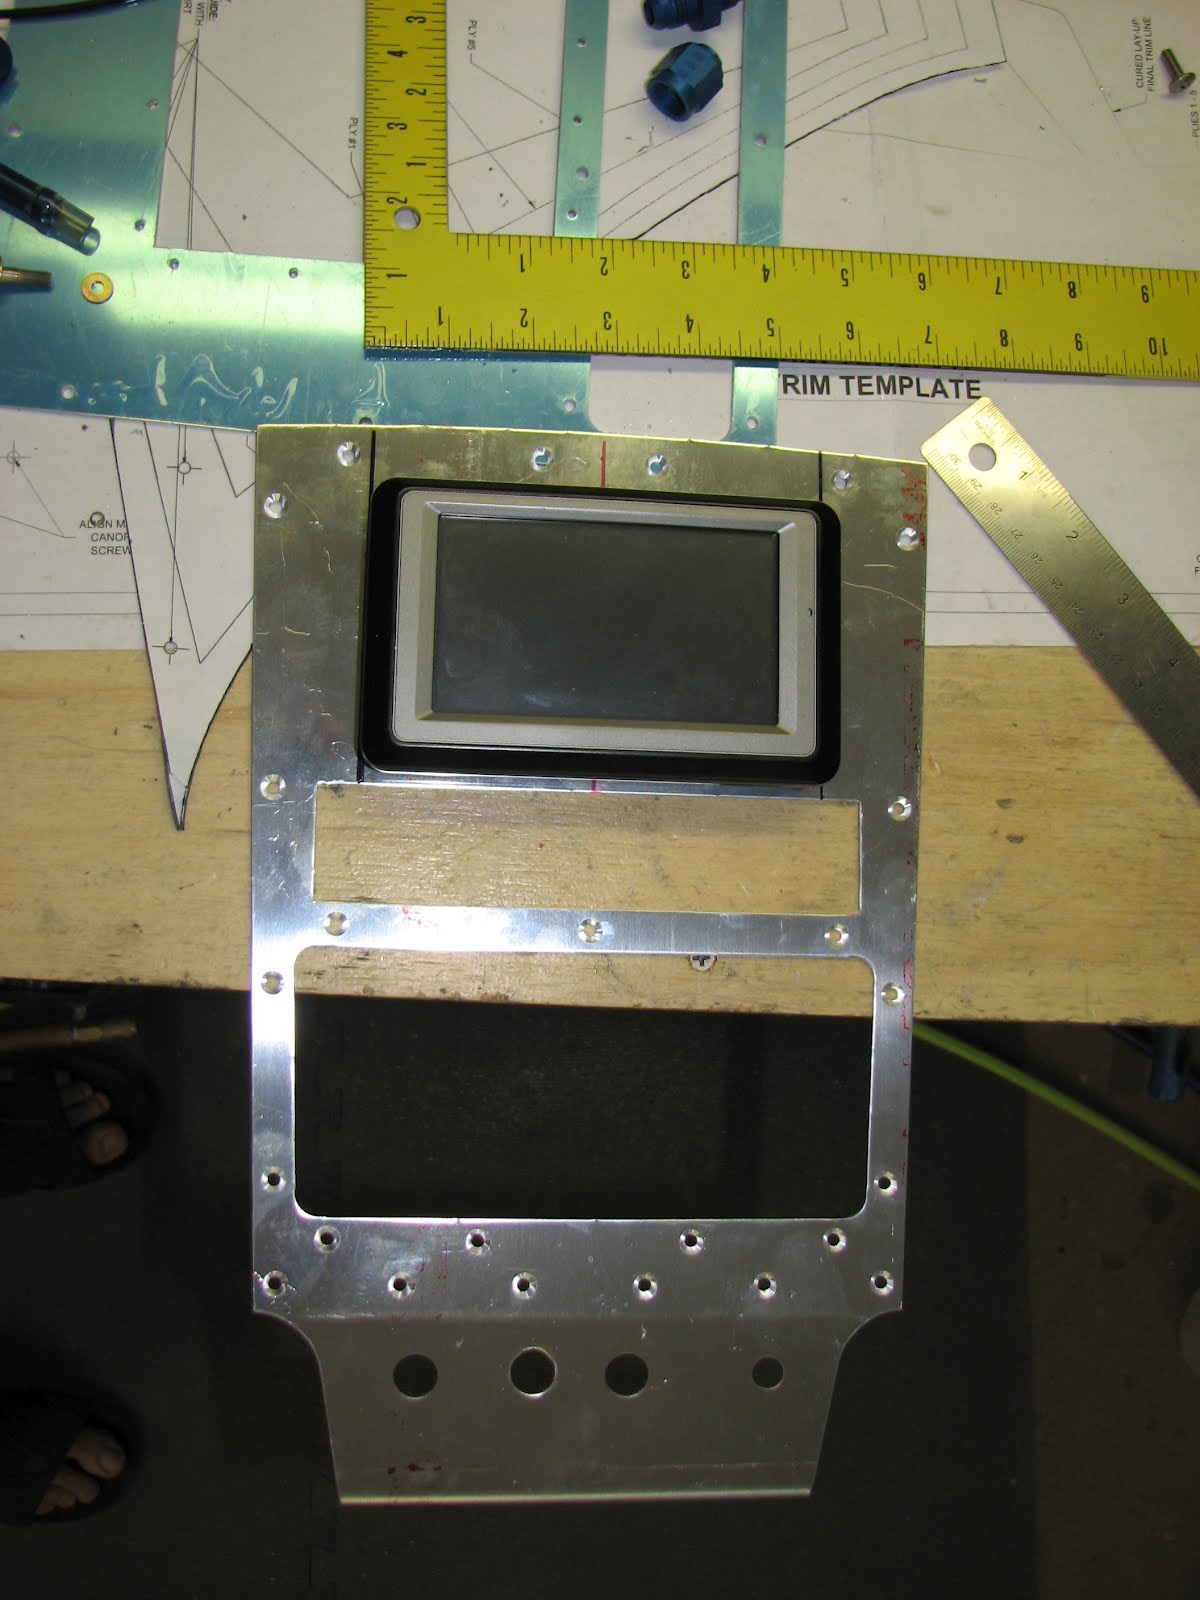
I started with marking a center line and the outline markers for the GPS unit's width.
I put the GPS in place to see where I wanted it to sit vertically.
I used the actual mount to mark the holes on a small piece of paper which was used as a drill template. The marker lines for the vertical center and the horizontal reference line were also added to allow for positioning.
I used the center punch to mark the center of the drill holes and put the panel on the drill press.
I started the drill by hand to make sure it was correctly centered and then slowly drilled the holes.
Here you can see the mount with just two screws installed.
And here with the GPS attached to the mount. The cable that exits the mount on the side was tackled next.
The mount is actually held together by screws which makes modifying the mount a charm. I took the thing apart, cut out the silicone they used to secure the wires and pulled the wires out. I studied the assembly for a while and decided that I do not need a USB hook-up for the unit (which is part of the cable). All I considered of interest was the power supply wires and keeping the option of hooking up the audio warnings to the intercom. I remember that in my previous plane the warnings were still audible with the built-in speaker, wearing my noise-cancelling headphones. However, preserving the cables for this option seemed reasonable, although I decided to combine the stereo output and convert it into a mono output by using just one cable for both channels.
USB and audio alerts are on the big plug, power supply is on the dual plug with the black and red wires. This was quickly soldered and heat-shrinked. I used some leftover wires from removing the D-180 bus cable.
Here you see the disassembled mount from the rear view. The wires were connected again, the hole in the back was drilled and the unit was ready for reassembly.
The mount was re-assembled. The cables secured with some clear silicone-like putty, the same stuff I used on the canopy to fill a gap around the handle cutout. I also filled the hole where the wires protruded previously. This is under the blue tape so the outside surface would be even and smooth.
Finally, the hole for the wires was drilled into the center panel. This is a 3/8" hole for snap bushing that takes the wires right where they exit the mount. The mount will be attached to the panel using some #6 x 0.25" vibration dampening rubber mounts.
I have yet to find out how to attach the power supply to the avionics bus fuse but that's not really pressing. I have to discuss with the DAR if he thinks it's ok to install the GPS before certification. I think one could argue for it because Van's explicitly provides this modification to the center panel as an option in the build manual in section 42D. Not for an aera but for a 496 but then, that's not really a relevant difference.
So, what's next? I'm really not sure. With the panel done, I should probably get the thing painted. At least the center and left panels. I noticed when fitting the altimeter that there is the chance that the cut out holes for the ASI might need some minor sanding to allow the instrument to slide in. That would look pretty horrible if it was painted at that point. As the right panel is not really needed for any installation, I might just wait until I get my Winter ASI in a few weeks.
With the rest of the panel painted I could finish the Avionics installation and move back to trimming the fiberglass skirt on the canopy. Not that I'd be looking forward to that ....


No comments:
Post a Comment