
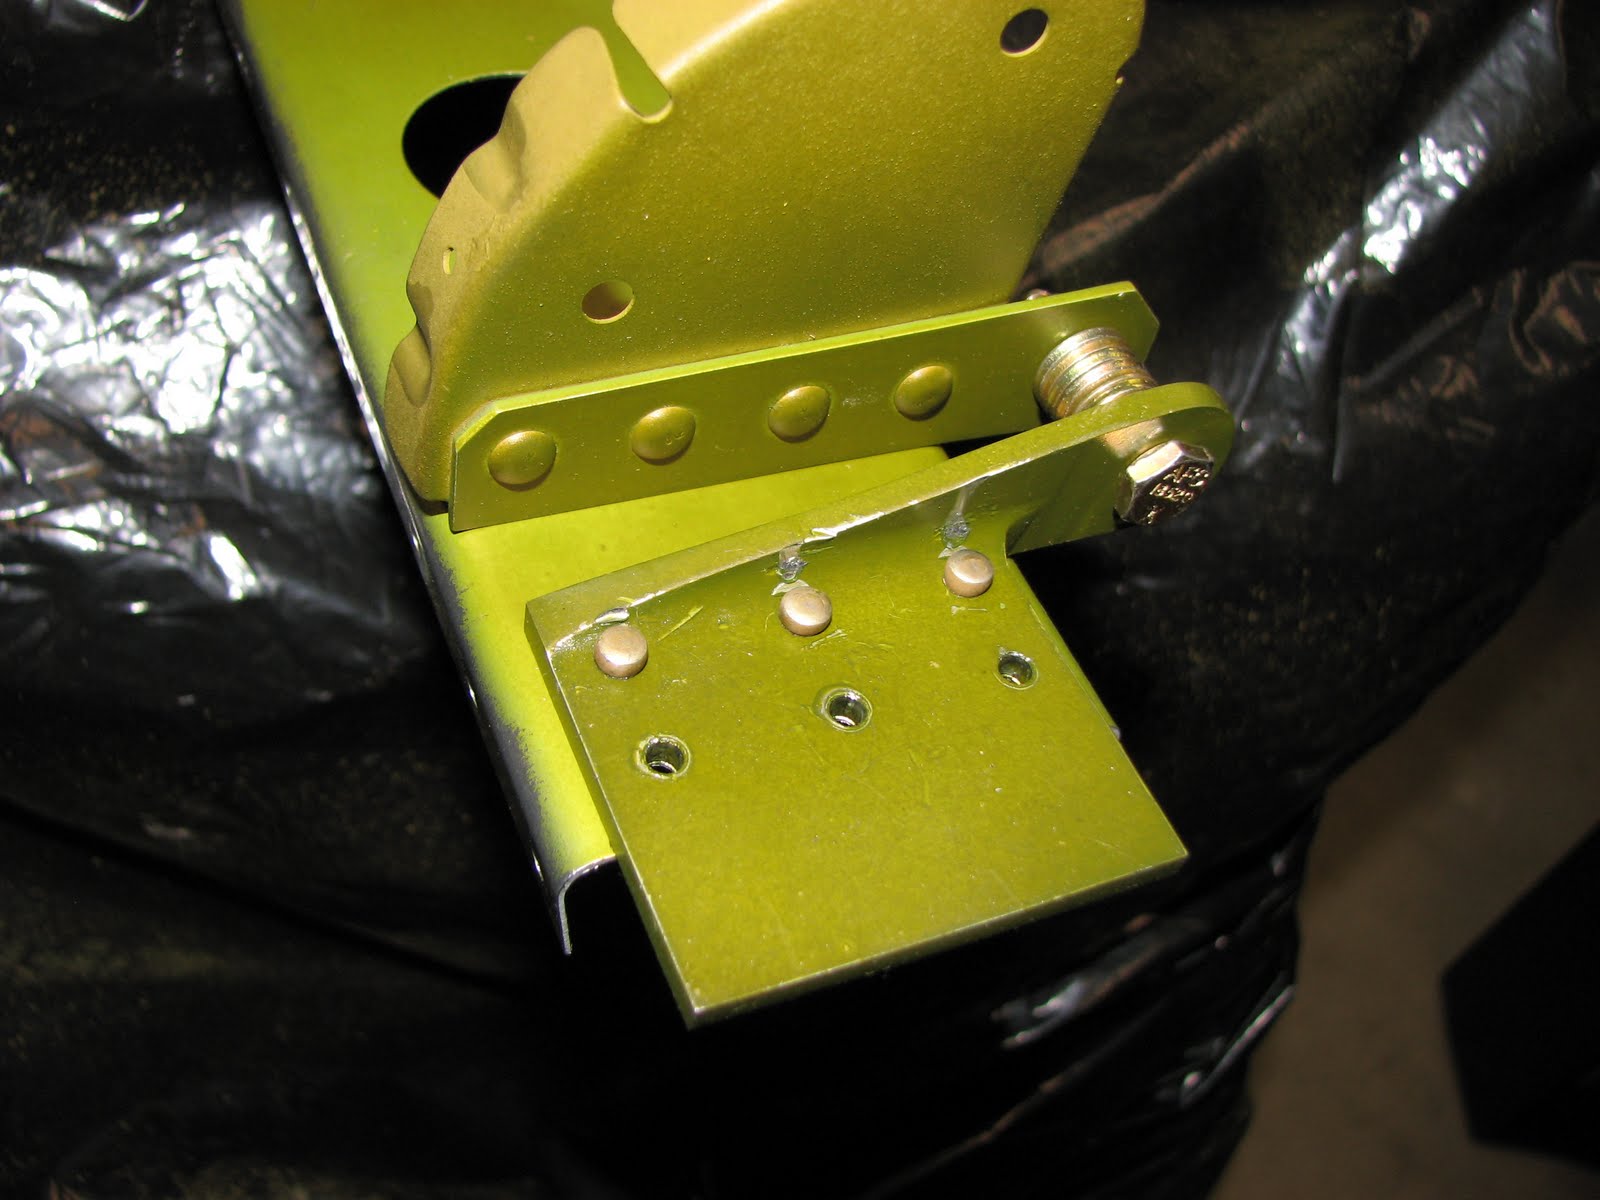
My nicely manufactured actuator bracket wouldn't allow me to rivet it onto the spar because the inner row of holes is so close to the web of the bracket that the heads interfere with the web. The rear one in this image only sits deeper because I had filed away some of the material colliding with the web.
Now what am I supposed to do? I've seen this problem in other blogs but not as severe as I see it with my bracket and removing half of the head can't be the way to put these rivets in. Sure enough Van's is closed now and my only hope is the forum. I'll post this question in a minute but I don't have high hopes.
I wonder why Van's placed these holes so ridiculously close to the web. There is really no need to do this...
The forum was helpful, as always, but that alone didn't solve the problem as you also have to have the right tools to get this job done. The squeezer dies I had received as part of my tool kit wouldn't have done this one here. Fortunately, I had acquired a shortened cupped die to squeeze the long rivets in the pneumatic squeezer.
But I am getting ahead of myself! The solution to this riddle is to put the manufactured on the back of the bracket, touching the spar. I had this idea before but then dropped it right away as my flat counter dies all had a diameter that would have not allowed them to pass the web of the bracket. The forum insisted on either driving the rivets in from the bracket side with a hammer or other means of a lot of force or going at them from spar side.
I tried to use the squeezer to press the rivets in, using a nut on the opposite side as an anvil (while not squeezing the rivet flat) but the rivet head had such a severe interference with the web that even the squeezer could not completely get it down. I didn't want to force it beyond this, so I thought about the backdoor approach again. I needed a counter die small enough in diameter that it would clear the web...
The only thing I had was this combo:

Both dies are cupped. On the base is the shortened cupped die and on the top is the standard length cupped die. Side effect was that the shop head of the rivet has rounded sides. Looks nice and should still work as if it was a standard flat shop head. This way I could just get enough clearance (the standard length die formed the shop head) to get passed the web. And it still marred it!
ok, that solved the immediate problem. I still can't believe Van's would do such nasty engineering on a vital part of the plane though. If the actuator bracket fails you lose your aileron control. What a nightmare! Why didn't they use a T angle instead allowing for two rows of squeezed rivets and a little bit more clearance to the web so you could actually squeeze them without so much pain?!
I have no clue! Anyway, after this excitement I took a little break.


Torsten; My solution would have been to use a doubler with a radius to nest in the fitting and install with a longer rivet. Your fix looks fine just be sure to smooth out the damage from driving your rivets and see what Van's tech says. As a liaison engineer at Boeing my job was to come up with a fix for this type of problem plus screw ups and damage. Enjoying your build and really appreciate all of your work posting it. Strongly considering the -12 and just found your site. Having never seen one in person I have asked Van's to send a list of builders in Kansas. Best regards, Jerry Martin
ReplyDelete