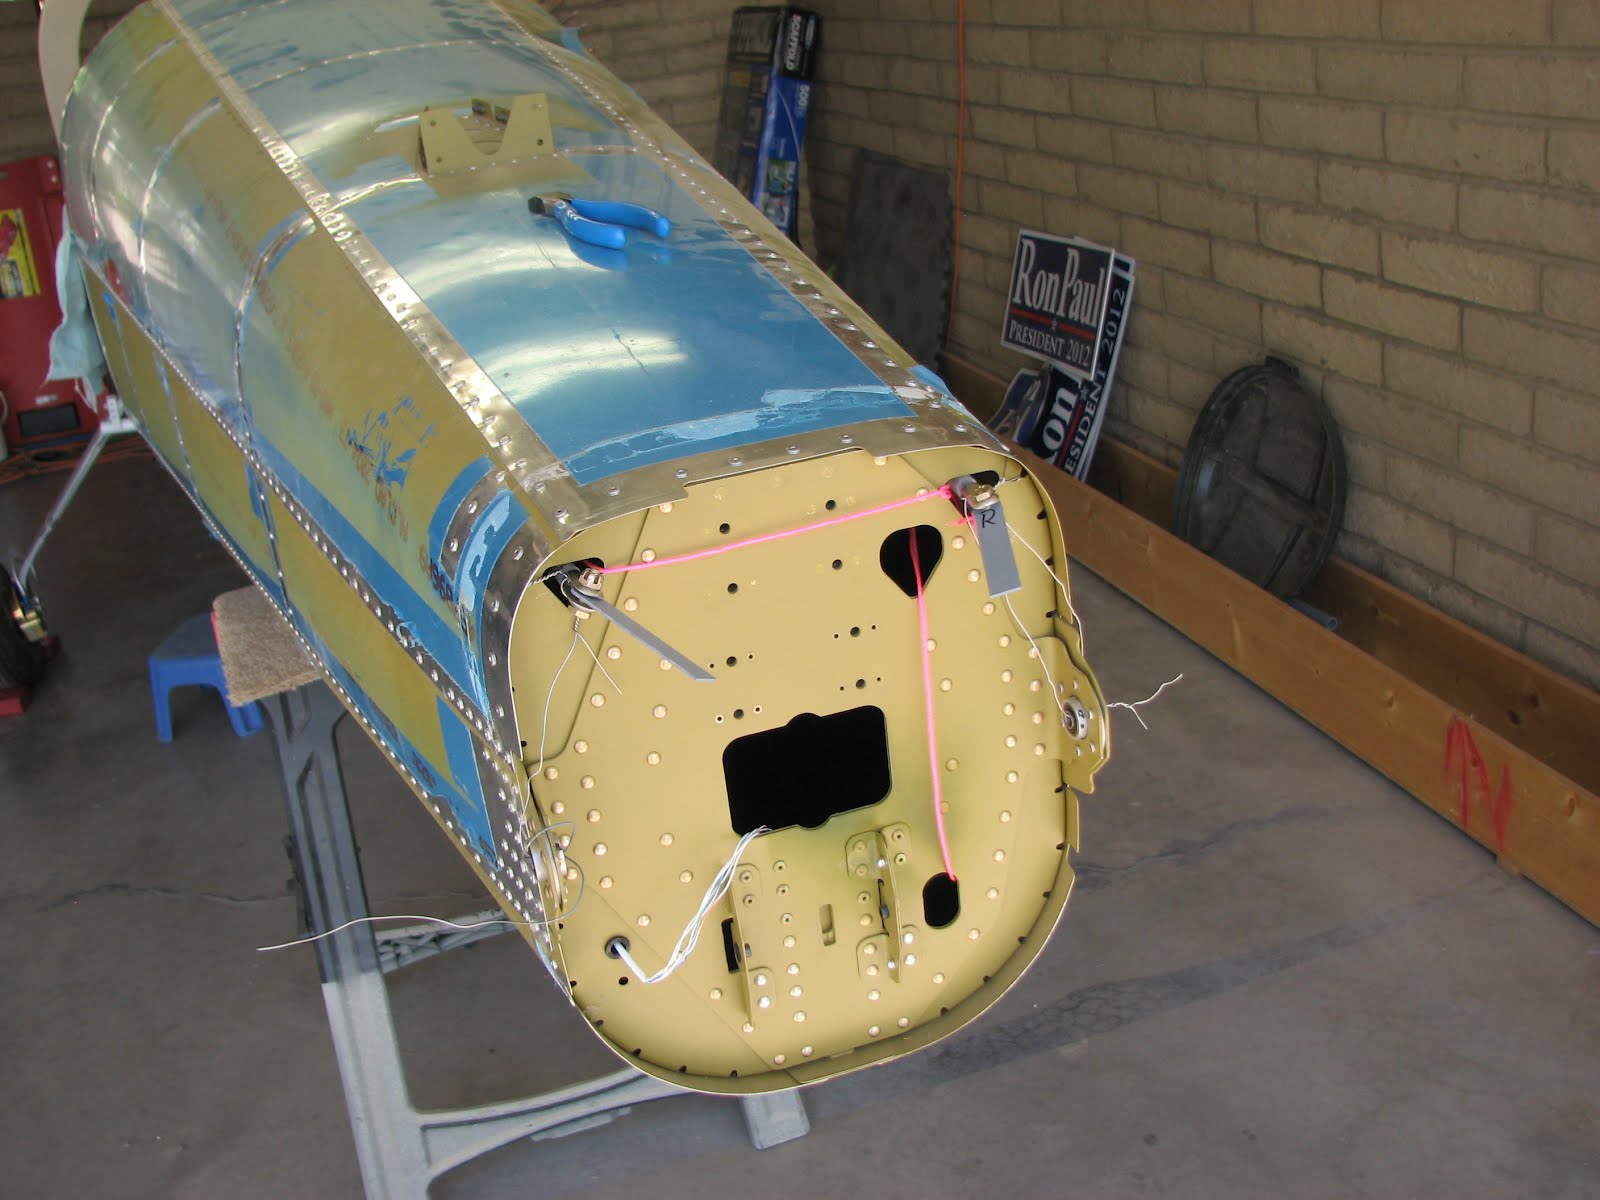
In the morning I had the joy to remove the left and right torque arms. I put them on the work bench and prepared them for match drilling the belly side holes.
That was easy. Opening them up and drilling them through with a #12 bit needed a bit of thought. I chose the drill press for a straight path for the bolt that will later get installed.
With some Boelube the drill bit went right through without a hitch. After the deburring the pieces looked like this.
Installing them back in the belly, along with the torque tubes, was harder than taking them out. I hate those washers on the inside of a bracket. I glued them successfully in place with Superglue. That made it a bit easier.
After lunch I pulled the ridder cables through the aft bulkhead using the rope I had routed and affixed to the tail cone almost 2 years ago.
I temporarily attached those steel plates to the cable forks.
Then I attached the vertical stab to the tail cone. It is not an illusion that it looks like it's taller than the entrance of the carport. It definitely is too tall. I also had to move the fuselage way forward to clear the stab and the rudder, so I might have to take the assembly off again until I get to the hangar. I wouldn't be able to install the engine otherwise.
Here's a better shot:
Installing the rudder was a nightmare. The glued on washers wouldn't stay on because of too much lateral force on insertion and I couldn't get a finger and a bolt in on the top hinge. Fiddling with pliers didn't give enough grip to force the bolt in. After half an hour I finally succeeded by accident. This is probably the worst part of the assembly so far.
I centered the rudder with a string once it was installed. The strings follows a rivet line on the rudder and ends on each trailing edge of the stab. Measuring the distance between those two points divided by two gives you the center mark on the string. You also mark the ends of course. Then hold the end marks on the trailing edge and adjust the rudder with the tip of your nose until the edge of the rudder is on the marked center spot on the string. I verified by eyeballing that I wasn't all off and clamped the plates to the rudder horn.
In the cabin I had the pleasure to install Denny Myrick's gift he gave me at our last meet at the airport - his rudder jig! He saved me a lot of time building this piece. Thanks again for this, Denny!!!
I pulled pretty hard when tightening the ridder cables but it didn't feel like the left one was giving much. The right one came out significantly farther than the left one. So I checked on the inside if there was slack on the left cable. Nope, not as far as I can see.
However, when I unclamped them after marking, they looked like this.
I will have to check with other builders if this deviation is common or if I made a mistake here. So until then I will hold off on drilling them.
Update: Bill and Dave confirmed this is a reasonable difference that reflects the difference in the rudder horns on the pedals.
Not sure what next to do. Tomorrow I have to go back to the paying job and I believe rigging the stabilator is next. More fun with washers I believe.


No comments:
Post a Comment