As I am closing up an area that necessary to be looked at during the AW inspection, I took a good photo in the hope that this will be sufficient.


That was also the time to reinstall the ELT that had been removed for installing the landing gear reinforcement.

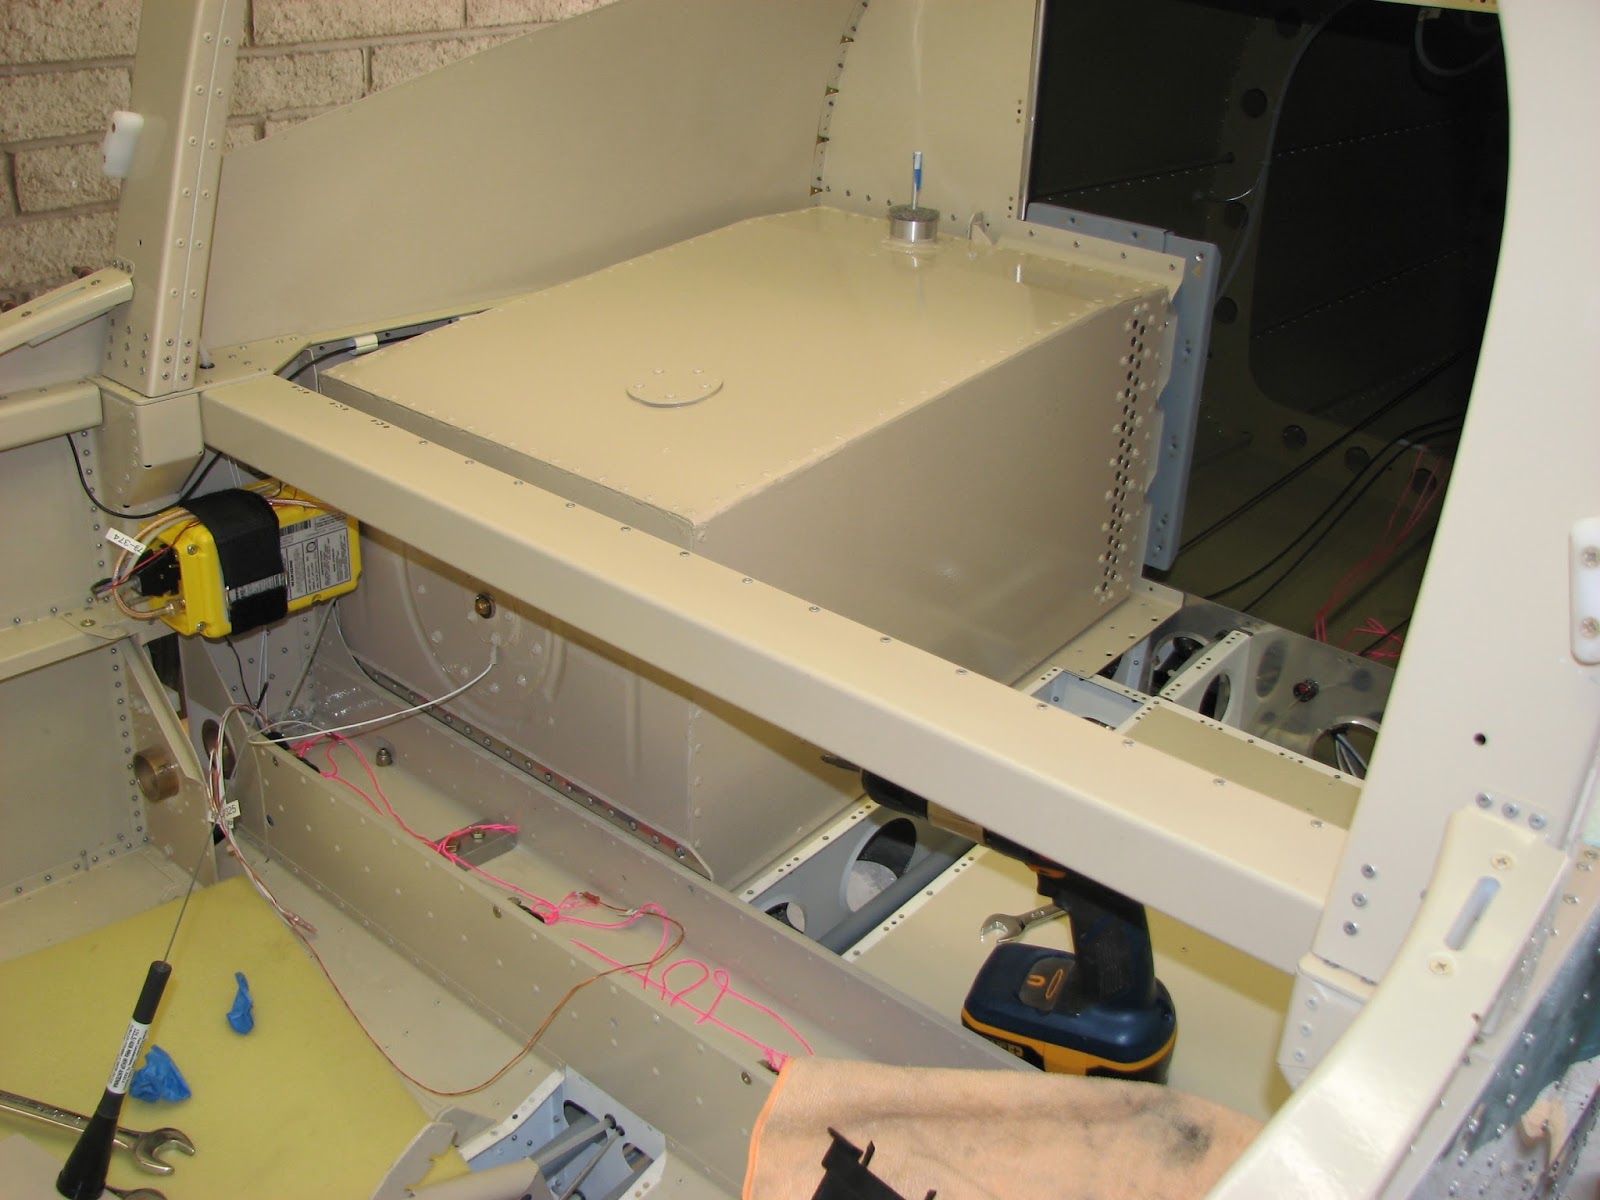
As the rear window will eventually be installed I tried to insert the tank as it would be when the window is in.

Please note that it is advisable to remove the ELT antenna plate before inserting the tank.
So far so good, but how to tighten the fittings for the fuel line and return line hook-ups?
I lifted the tank after lightly attaching the fittings from the belly and put a piece of 2x4 underneath to hold it there. That gave enough room to use two wrenches for the fittings. One to avoid the sealed part on the tank could move and break the seal and the other to tighten the fitting.

Now it was time to create the seal on the fuel nozzle flange to the turtle deck skin.
First I verified that it still aligned correctly.

Knowing how sticky ProSeal was, I decided to apply plenty of masking tape to avoid a mess on the skins. I used carnauba wax as a release agent, inside and out!

Then it was goo-time!

I quickly removed the masking tape.

Not so bad. I could trim the cured ProSeal back a bit but I made a mistake much earlier in the stage when painting the skins. I falsely assumed that the seal would really be larger in diameter than the flange and left a little clearance around it. I think I will let the ProSeal cover this rather than showing bare aluminum. I could always paint the ProSeal later to make it look more streamlined.
It was time to leave the setup alone so it cure correctly.
The next day showed this result:

I was not able to insert the 6th screw the day before and was just hoping it would not make a huge difference.
Thanks to the carnauba wax the screws and the Proseal stains came off easily. I separated the skin and the flange by removing the upper clecos and pulling the skin back carefully.

Looked good - at first. A closer inspection revealed that there were some air pockets in the seal that needed to get filled.

So I gave it another round and this time I could insert all 6 screws. The assembly had to stay undisturbed for another night, so I could not do much more at this time.
Either I was more aware of my surroundings today or it was just a special day but I caught all this right around the shop.


The latter is a king snake and not poisonous. It was rather scared to get so much attention when all it wanted was some fresh pack rat to swallow ...
Next steps: I think it is time to get the fuel system checked for leaks again by filling it up and pumping fuel around. Should this succeed, I am planning to pull the plane out of the car port (nose wheel still on the concrete ramp, prop over concrete), install the canopy and fire the engine up.
Wish me luck!


No comments:
Post a Comment