I removed the clamps on the radiator face to see how it looked.
It appeared to be all sealed around the face and even the large gap in the lower right had been filled completely.
The face got a bit warped when you look from the side, due to the clamps pushing down and the surface not being all even. This will probably have to evened out with some sealant when the lower cowl and the channel are getting fitted.
The hoses were attached and the hose clamps are accessible, even though not really comfortably.
The then the heater door cable was installed. First a grommet had to get opened up to allow for a bigger hole. When it came to installing that grommet it took me a while to find the hole in the firewall it was supposed to mate with. Here it is:
The cable was installed in the cockpit and routed under the panel base.
The cable then got routed down around the right side of the engine mount.
That's when the muffler had to be removed to get access to the lower engine mount. This was also a good opportunity to remove the banjo oil fitting and replace it with the provided straight one.
Beware, there's quite some oil in the engine still. This little bottle was enough to take it all.
When installing the new fitting, I cleaned the threads in the engine as good as I could and then used Loctite 243 on the fitting. I torqued it with 17 ft. lbs. which is in between the dry (19) and the wet (15) torque recommended.
As you can see, I reused the yellow plug to keep more oil from dripping out and insects from getting in.
All 3 cushioned clamp sets were installed as well as the friction comb. That's premature as I had to remove it in the next step to reduce the friction when trying to reinsert the cable after trimming the outer.
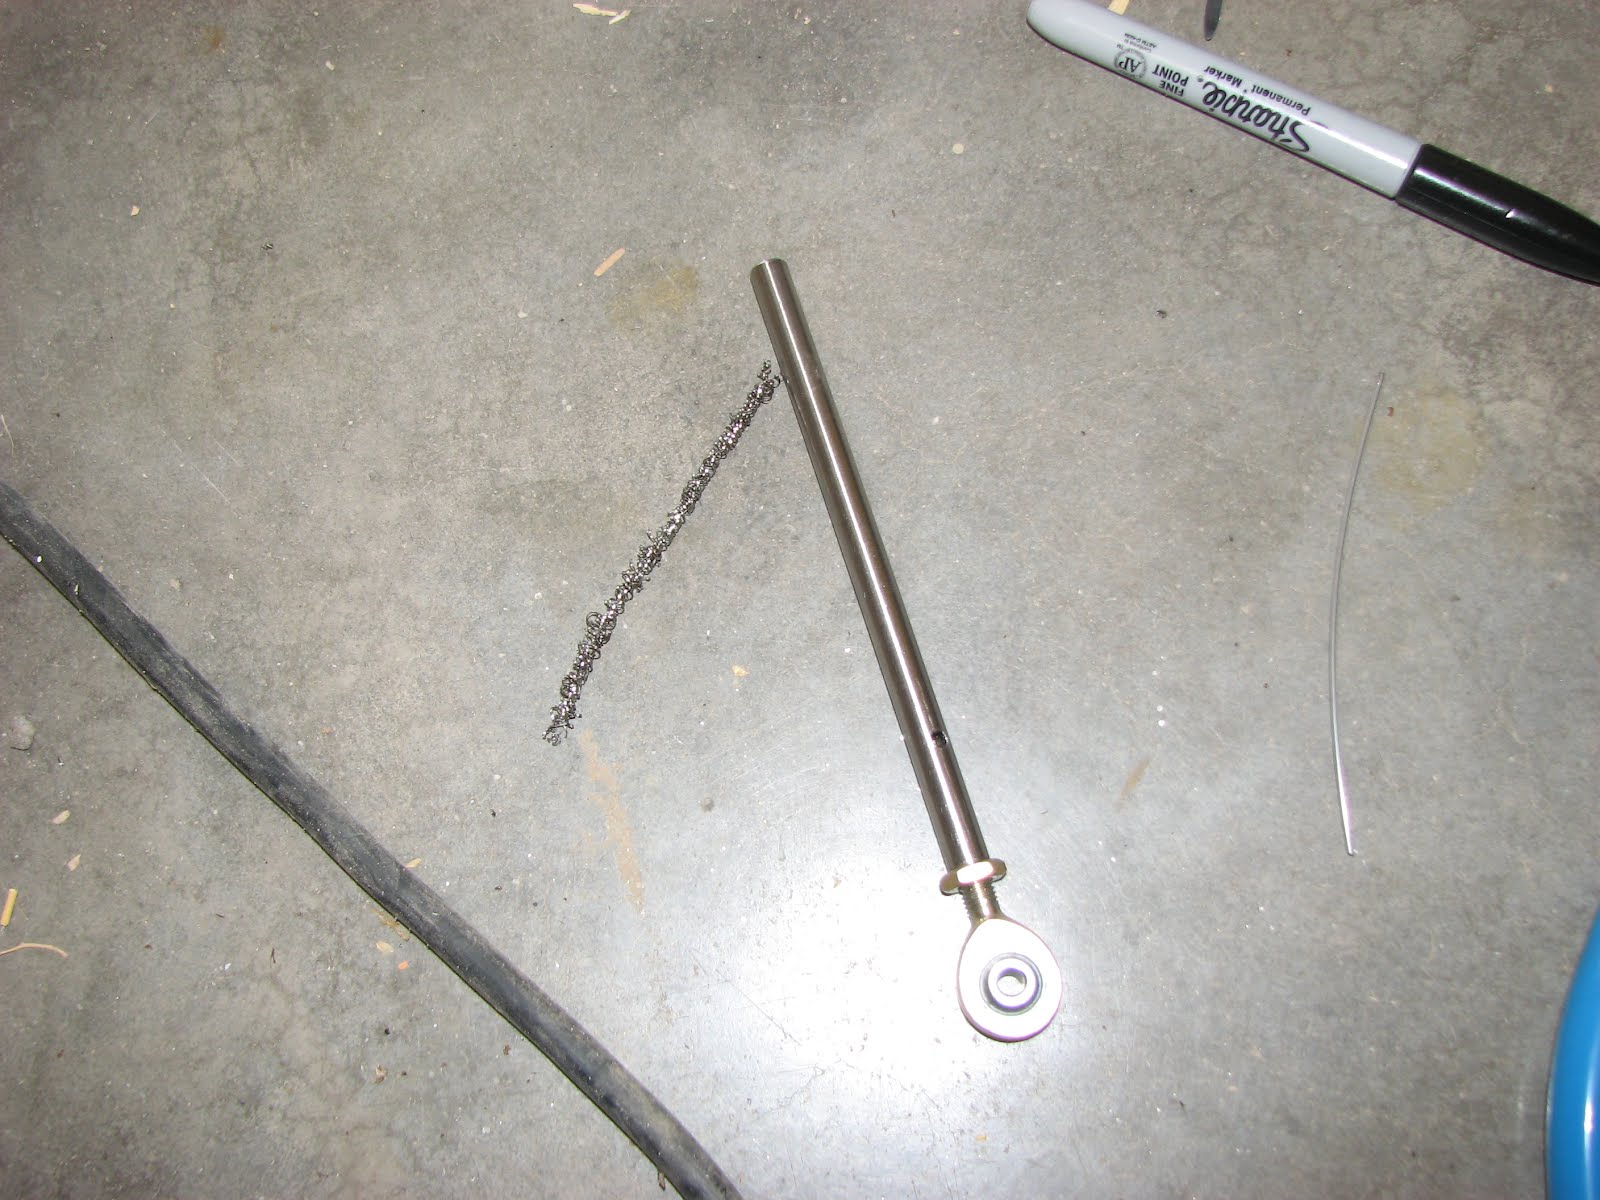
When trying to insert the cable into the pushrod, I found some leftover debris.
After removing that it was ready to get slipped over the awaiting cable end.
It took me a bit of adjustment before the heater door really closed snug when the cable was pushed forward all the way. The seal seems not to have settled flat all the way and so there is some springy resistance. But the cable now closes the door very well.
It would have been much easier to do the cable installation before installing the radiator. Why VAN's chose to do it after that step, is a mystery to me. If you have the chance to decide, go for the cable installation first. You can run the water hoses but leave the heater off until the door is working perfectly.
I will be gone for a couple of days and not be able to build until Tuesday evening. Don't worry, I'll be back. And, no, I am not going to Oshkosh, although I wish I would!


No comments:
Post a Comment