I needed some better lighting in that corner where the tabel with the engine is located, so I moved one of the carport "painter's" lights over to my new area of productivity.
Then I tried on the painted cooling shroud. The fit is good and the paint looks gorgeous.
Off it came and stored for later. Off also came the cooling hoses at the water pump.
The blue pliers were my tools of choice. The serrations are really sharp and they provide a good grip on the clamps. They also removed some of the black paint, but oh well.
This was the last step before the engine mount could get readied to get mounted to the engine.
I removed the power coating at the mating surfaces and added the scratch protection tape. The powder coating gets removed because the mount has a really tight, springy fit with the engine and the coat would make it too tight.
This is step one of getting the mount onto the engine. Follow the instruction, send the kids away because you will be swearing badly and then you end up with the mount in place.
I put the bolts in, covered in blue Loctite, and torqued to 30 ft-lbs. A 5/16" hex driver works fine, you don't need metric stuff to do this. The same is true for the 5mm allen bolts that get torqued later with the reinstallation of the cooling flanges, I think those worked with a 3/16" driver.
The cooling hoses we had taken off before, came back on. I followed Dave's advise to put the clamps on first and push them down the hose to allow for installation. That made a big difference, actually this step was sweat as pie.
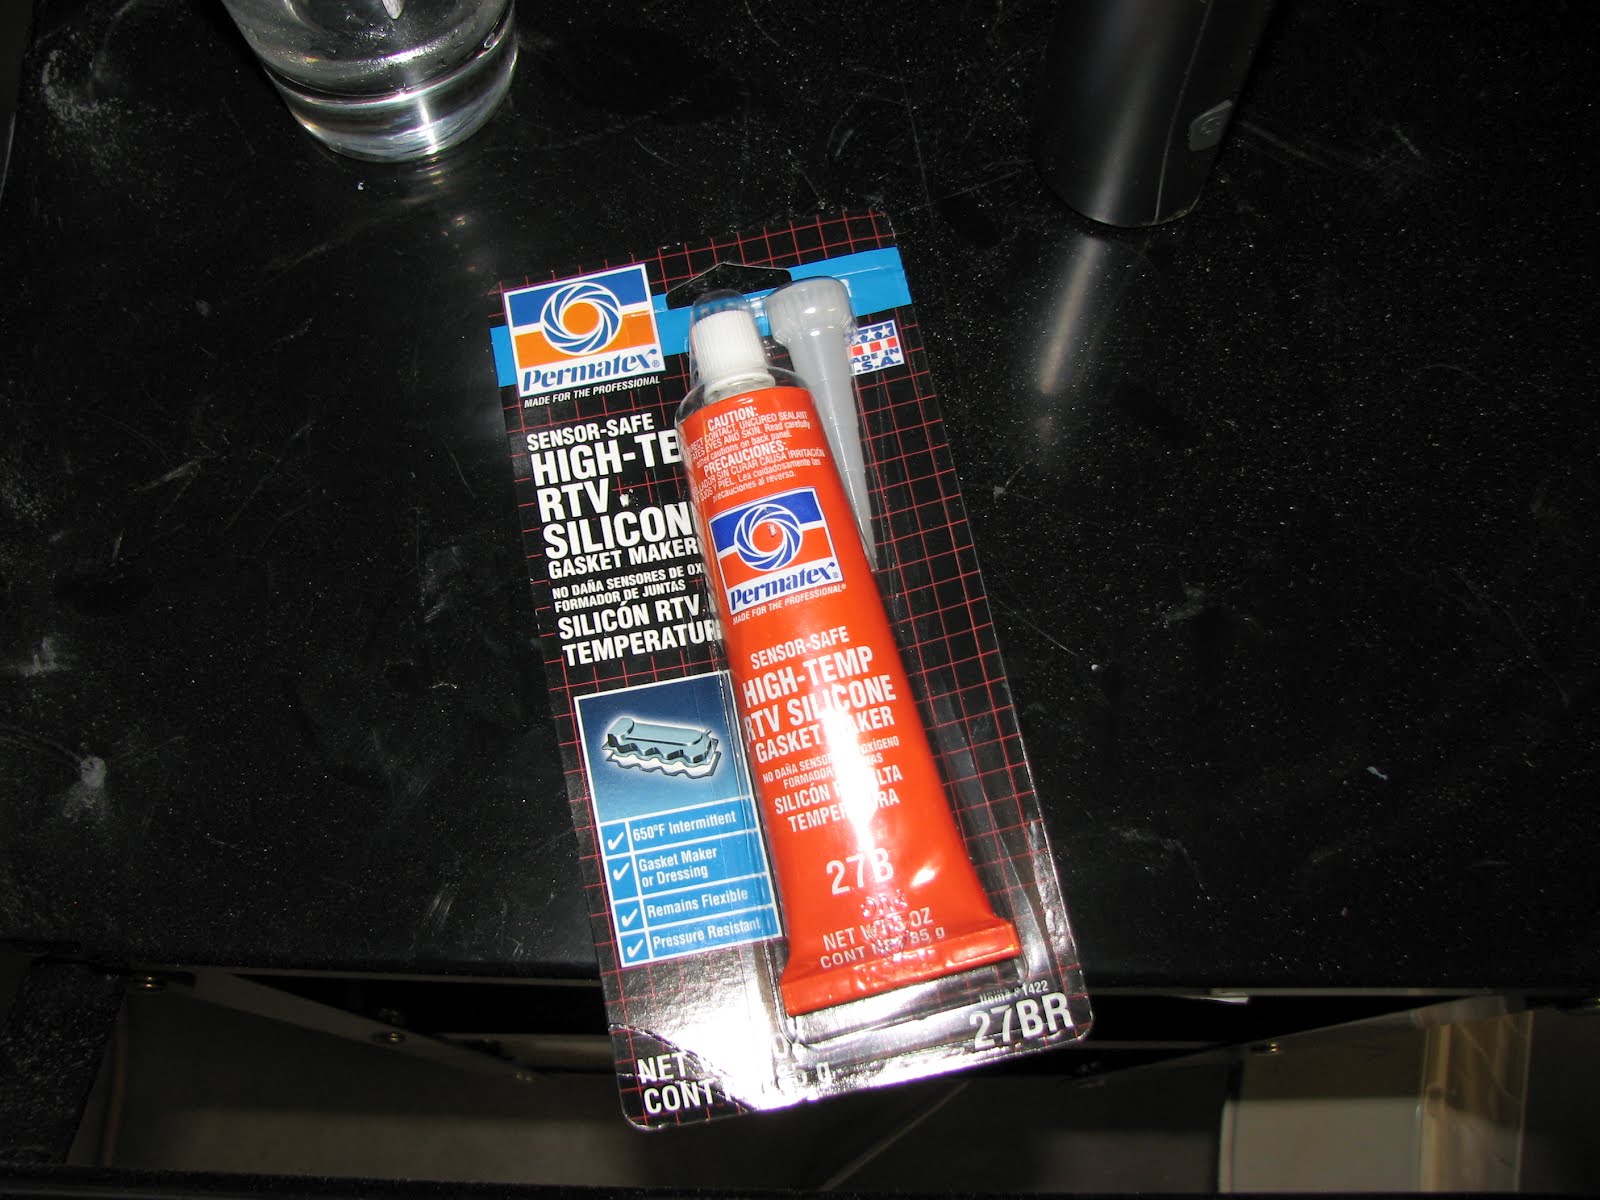
Everything was back in place and the top was still clean and ready for the RTV application to install the cooling shroud.
I applied the RTV pretty liberally.
After I slid the shroud in place and pressed it into the RTV bed and some additional filling and spatula work it looked pretty nice.
I further followed the instructions and temporarily installed the cooling hoses again to mark the potential contact spots with the shroud.
Then I applied RTV in these spots to avoid chafing.
The cooling hoses then got installed for good and the bolts were torqued to 90 in-lbs with 3/16" driver.
And the last step was to apply RTV to cover the fuel hose in the fire sleeves of the VA-216 banjo fitting area.
I think I got too close to the fitting on one side with the RTV and I might have to cut off a bit to provide clearance to allow the fitting to get installed. We'll see tomorrow if it works like this or not.


No comments:
Post a Comment