It was along night today. I got home and worked on the preparation for hanging the engine.
I took the carbs off and installed the drip pans.
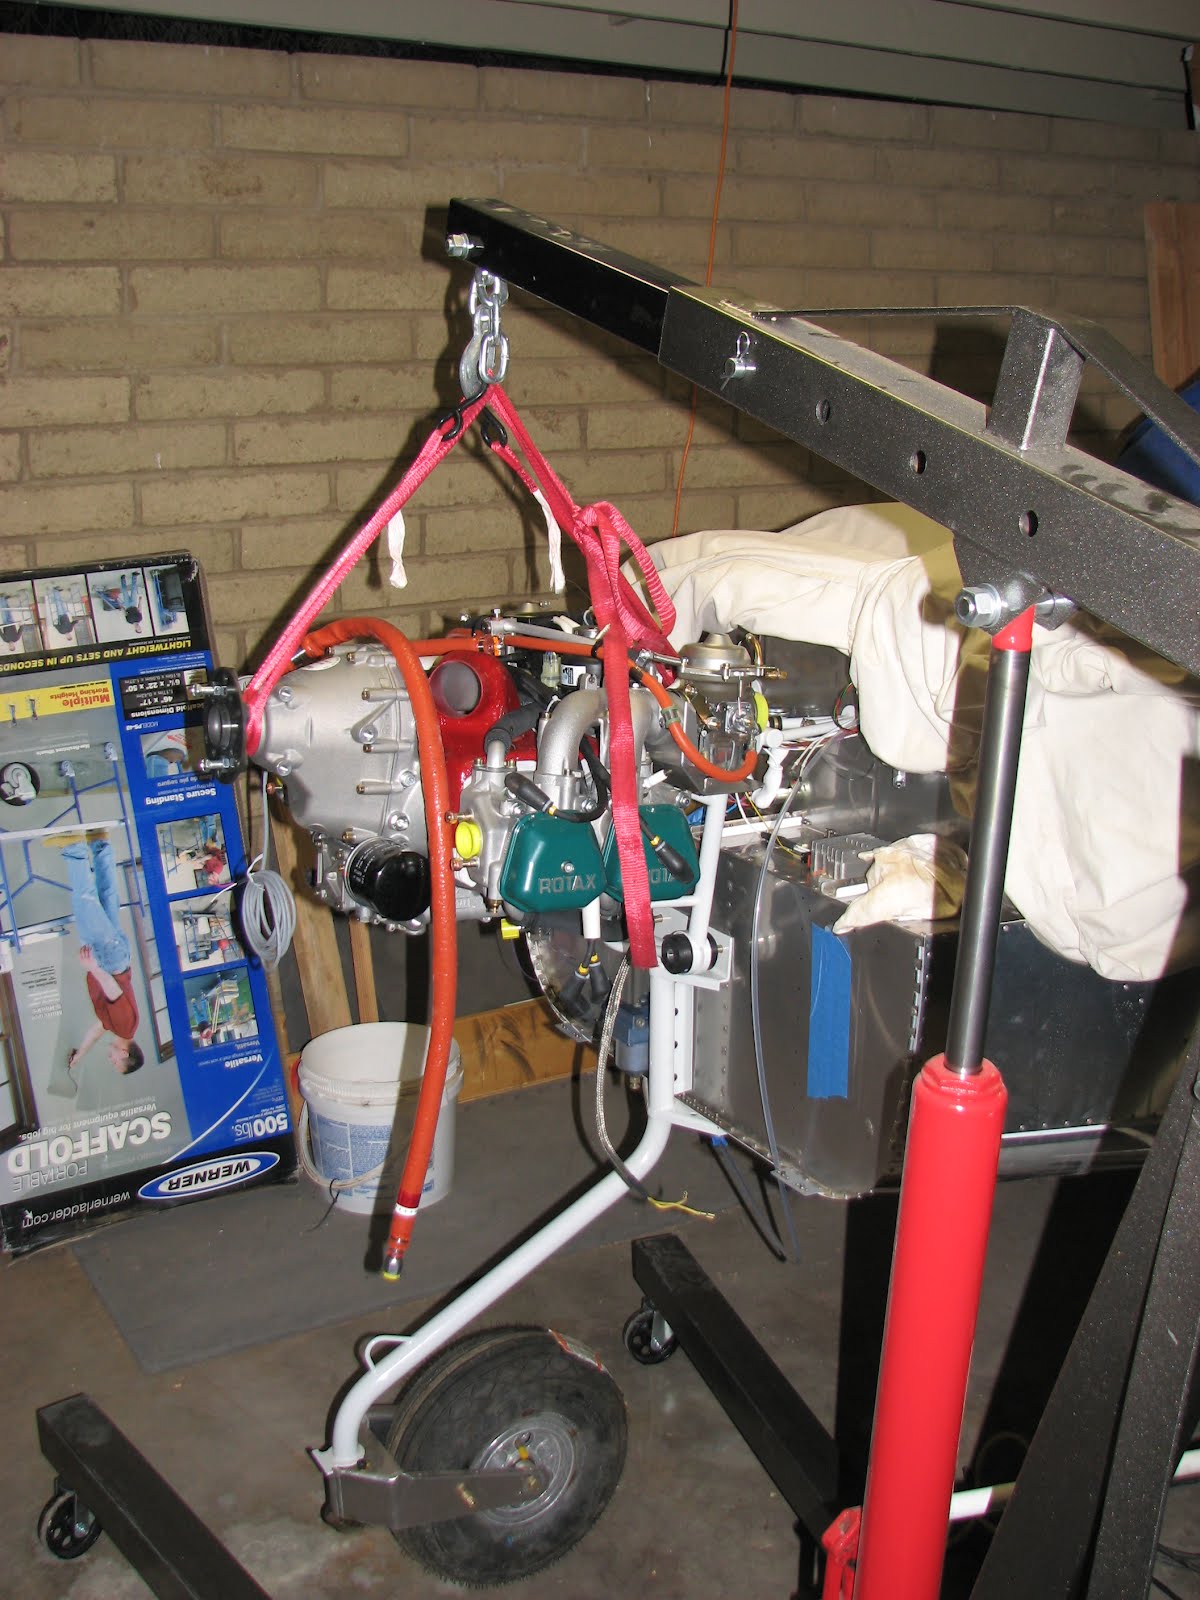
This is how it looks when the carb is off.
Then I went on to change the configuration of the fuel supply hoses.
The restriction from the upper bolt was removed.
Please note, that though Van's doesn't tell you in the instructions, it is not necessary to completely disassemble the fuel hoses setup. Just take the lower part off and try to keep the parts all together. There won't be any changes to the lower part. The exercise is only to remove the nipple on the top and to turn the clamp block 180 degrees so the hookup point is facing forward.
Leave the allen bolt loose and be patient and eventually the screw of the lower fuel hose assembly will catch and get back into the clamp block.
That was it! Ready to hang the engine. As it was still quite early, I decided to go ahead and drill the holes for the lower engine mount. First I had to remove the tarp and, oh boy, what a nasty surprise I found!
Leaking brake fittings. I don't understand why it took so long to show but as you can see, there's quite some fluid on the floors. As it appears, all of the fittings are leaking, so there's a possibility that the sealant I used is not compatible with the brake fluid. Either way, I will have to drain the brake lines, remove and clean the fittings and try again with BakerSeal. This is quite a setback but I have no choice but to suck it up.
This didn't stop me from continuing to work on the engine though.
I had already installed the AN3 bolts earlier when mounting the nose wheel, so I could move on to drilling and then clamping the drilled side before continuing to drill on the opposite side.
I finished the fuel hose assembly by plugging the upper part and adding torque seal to the lower part.
The lower bolts were put in place.
And then it was time for the crane again.
It was indeed quite demanding to fine position the engine and get the dampeners to slide over the bolts. A lot of wiggling and pushing and then it was slowly getting there.
I had started with the lower bolts and later found that the upper bolts appeared to be easier to align. Maybe I should have started on the top.
The only problem that I found where the big washers that cover the dampeners. They are indeed so big that I had trouble installing them when the bolt was in the correct position. Some of them need to get trimmed to allow for clearance with the vibrating and moving engine mount. The clearance you see is before tightening the bolts. I'll have to see if this will be enough or not.
The problem showed mainly with the washers for the lower bolts. Although the upper ones are pretty tight too. I remember reading something about this on VAF when someone found during annual that the mount had indeed touched the washers and the power coating was scraped off due to chafing.
I took a file to it and removed some of the interfering material and then sprayed the exposed steel with primer.
I tightened the upper bolts by feel and the lower ones only hand tight. I ran out of time to finish it, so I let the engine sit for the night, supported by the bolts and the crane.
Tomorrow morning I will torque the bolts and remove the crane and decide what and when to do with the brake fittings.


No comments:
Post a Comment