There are not just very few instructions and Van's has you figure out which holes exactly are to be countersunk, they also sometimes just omit that some holes should be countersunk at all. Then they tell you to machine countersink some holes when the material is so paper thin that I assume you'd simply cut a big hole in the sheet metal. Why in the world they don't tell you to dimple it, I don't know as there's no advantage for countersinking in thin sheet metal over dimpling. It's rather the other way around.
But maybe I should go through this mess step by step.
In the parts preparation when riveting on nutplates, I got to step 3 on 22-02 and started scratching my head as I couldn't figure out what they wanted me to do on the lower firewall. Read step 3 here:

I still don't know what they want me to do here as the nutplates on the lower firewall almost all depend on something else being in place that will get riveted there much later. All the nutplates on 1201C are actually being called out later to get riveted onto the firewall, which leaves absolutely nothing do in step 3 for this. Very confusing as it took me some valuable time to figure this out. Just strike 1201C from that step and move on.
So, I started riveting the center skin onto the tunnel ribs. No problem here.

When I was about to rivet the lower firewall to this assembly I was noticing the first weird thing. There's holes on the firewall for a nutplate that will hold a clamp right under the gascolator mounts. This nutplate gets riveted onto the engine side of the firewall and the clamp will therefore sit inside the cockpit. But these weren't dimpled while the rivets used are flush rivets.... ?! Ahh, I had overlooked step 1 as it was indented a bit, I guess. So back to start and dimpling those holes.

Hm, nowhere in the instructions do they mention dimpling the nutplate but they have you install the nutplate with CCR264 rivets which are 3/32 pop flush rivets. Well, I went ahead and dimpled the nutplate holes as well and riveted it in place right then.

Another thing that I noticed then was that Section 22 is in a weird order. There are a lot of things that should get done in a different order to make the tasks easier and more manageable. For instance, the cooler stiffener that gets riveted to the firewall. In the instructions this occurs after the firewall has been riveted to the tunnel ribs and the floor skin. The structure is not as easy to move around as the firewall bulkhead alone. So why don't they call for the stiffener attachment earlier in the game? The previous clamp nutplate is another example where it is even essential to do it earlier if you want to dimple these holes. Very strange.
Anyway, the cooler stiffener has more issues as they completely forgot to mention that all 6 nutplate attach holes have to be countersunk on the side of the firewall as these holes are already dimpled in the firewall. That was easy to catch. I had already done all that scratching and wondering before when preparing that part a few days ago and didn't care to talk much about it. But now with all the other hiccups in Section 22 this just adds to the picture.
For details on this part check Dave's blog.

Now I was going through the whole section making sure that things were ok now and I could go ahead and really rivet that firewall onto the rest of the structure. That was the case.

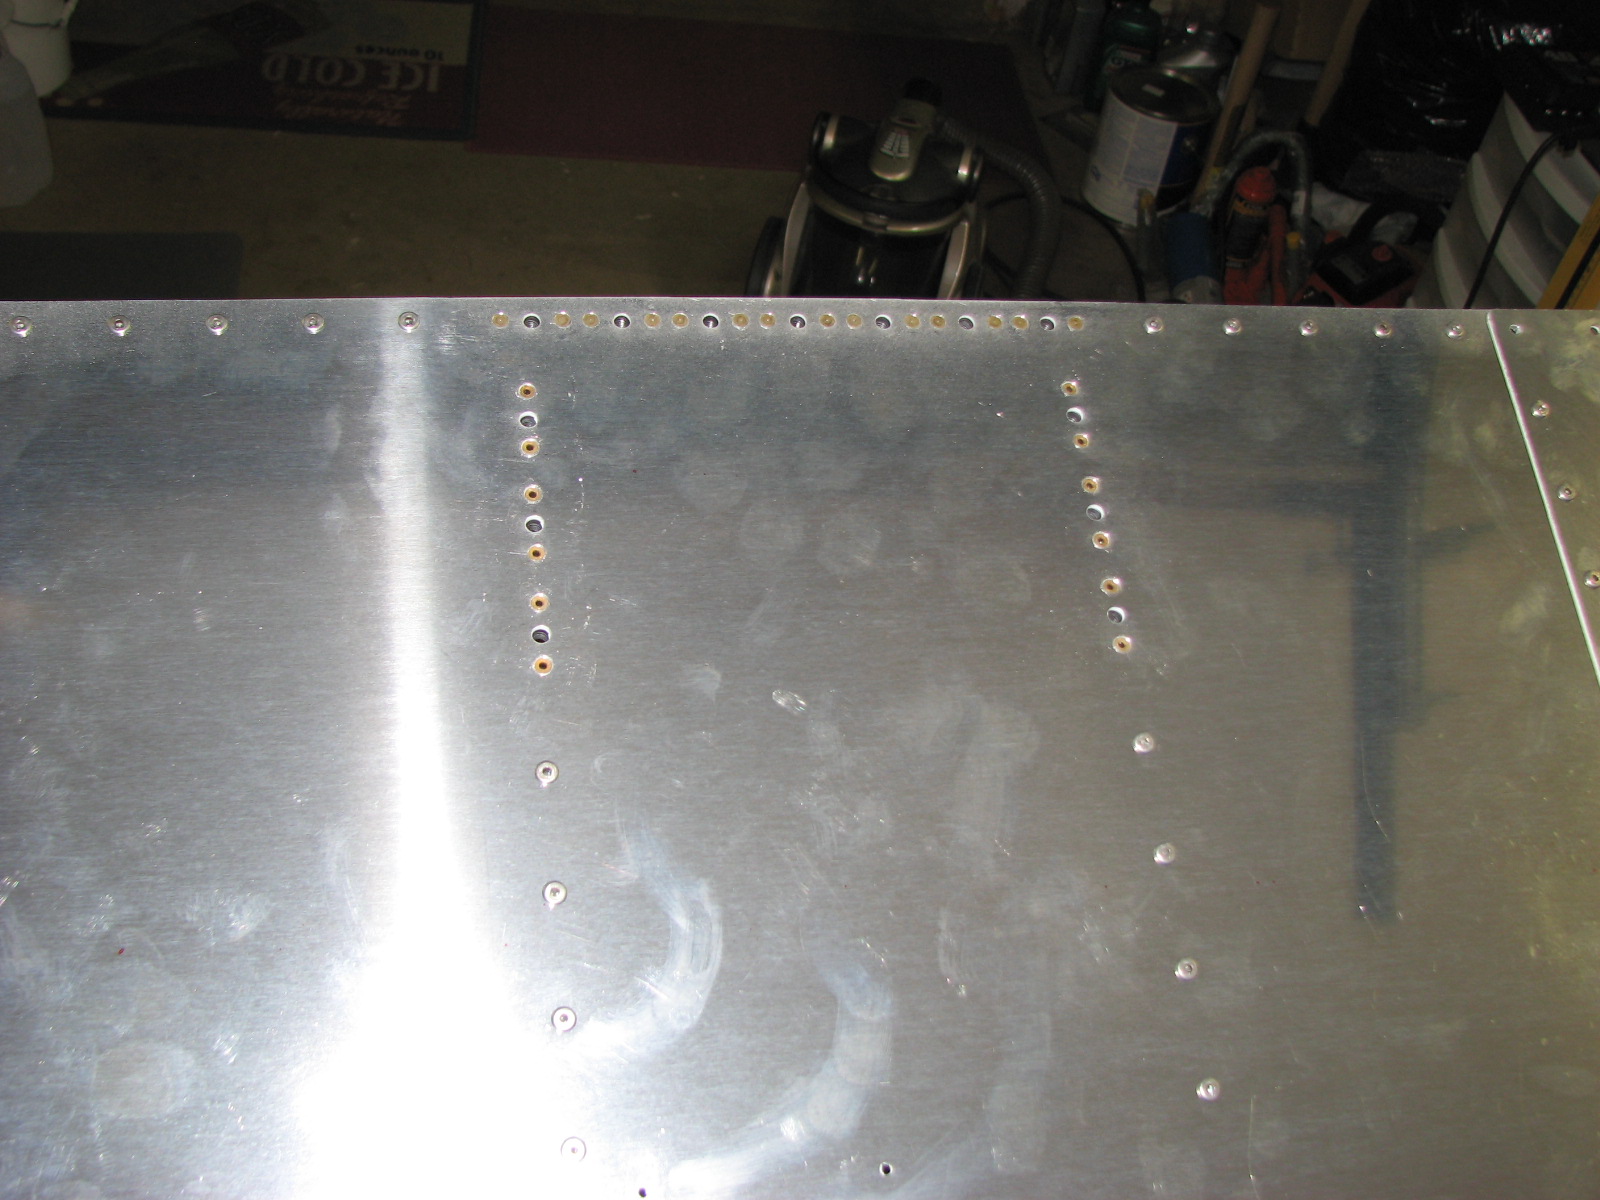
That went well and the next step was to rivet the corner skins on - making sure that all the holes that shouldn't riveted were properly marked. I double-checked them as there were a lot of holes in different locations that needed a tag.

Then I riveted the nutplates in the bottom flange of the firewall and the bottom of the floor skin.
Then I jumped ahead on 22-03 step xyz where the manufactured angle gets put in place for match-drilling. It's easier to do it now before the top shelf is riveted in place. I used a piece of painter's tape to hold the angle in place while adjusting.

For the match-drilling I used a wooden block to not drill through my fingers just like the manual asked for. I clecoed after every hole. Everything worked well. Please note that when match-drilling the #30 holes into the tunnel rib the lower hole will force the drill into an odd angle. It doesn't matter. Go ahead and do it anyway. The rivet gets pulled straight during riveting and the angle is not stressed a lot.

What do you think? Quite centered, eh? I think I passed the requirement to build an RV-3 as the next project, huh? :-)
Onto the final chapter for today. The last steps on 22-02 ask you to put the cowl attach plate in place. I had already prepared the spacers and also primer the spacers and the cowl attach plates. Now I had to match drill this assembly to match the holes in the firewall flange.
That went well and then I stumbled into the next joke in the instructions. Please read step 12 and focus on what to do after the match-drilling and deburring the cowl attach plates.

Yes, that's right! It asks for "machine countersinking the nutplate attach holes in the cowl attach plates". How in the world would you do that in material so thin that you can almost see the sunlight shining through it. All you'd do is drilling a large hole in the plate and order a replacement part from Van's. What is the reason they do this here? Dimpling is the preferred method for thin material as it actually adds strength to the part in addition to being far easier. You need a minimal thickness for countersinking and this part is certainly not qualified. Anyway, I went ahead and dimpled the holes, and riveted the nutplates in as asked for. It took me a few seconds and nothing was hurt but this particular instruction really ticked me off.
Now you've earned a picture of the finished cowl attach plates on the firewall.

You might wonder what revision my Section 22 is. I think I remember Dave's was Revision 2 and mine is 3. Here are the details:

So, when you get to this step, be careful and really think it through before blindly following the instructions. There might still be some traps for you in there by the time you get there ...


No comments:
Post a Comment