Remember how I said I spent some time yesterday to verify that a certain nutplate that looked different from the one in the plan is actually correct? Well, I can confirm that Dave's motto: "if doesn't look right, it probably isn't right" has been proven yet again!
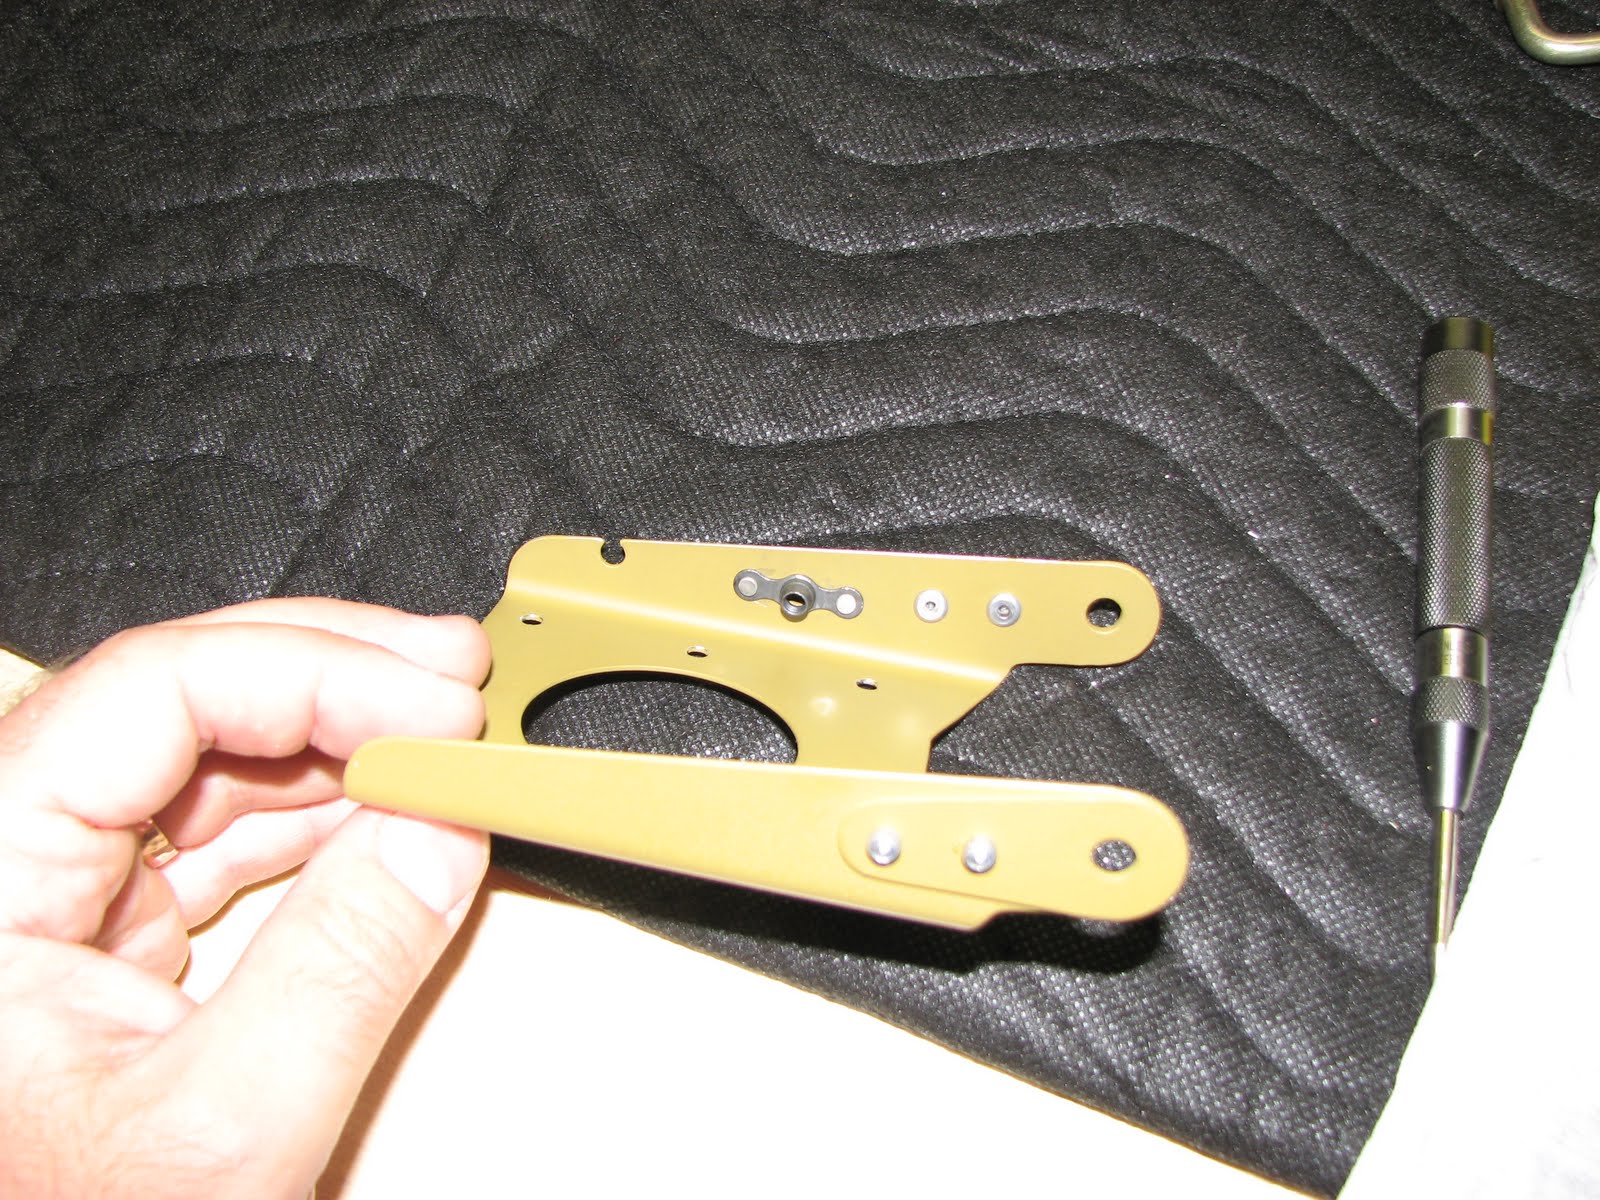
Here's the photo of how far I got yesterday. Look at the nut plate closely.

ok, this one shows an almost diamond shaped nutplate. The one in the manual did not look like that but was rather wavy in its shape.
Now look what I found in one of the bags that seem to contain all the hardware for the trim servo.

Aha! Among the nuts I was looking for there's also this nutplate and it happens to look just like the one in the manual. Let's see .... It turns out this one is listed as a K1000-8, exactly the one called out in the manual. Now what did I install then???
A closer look at my sorter showed it was a K1100-8, my brain must have refused to accept this little detail in lieu of another nutplate of similar name. Until now!
So, I started to drill out those rivets, put the right nutplate in place and got to use my new rivet squeezer again! I am getting better at developing a feel for it already.
Looks nice and this time it is correct.
The rest was relatively easy although quite time consuming. Pressing in those plastic bushings and filing them down without filing into the metal was pretty hard and almost impossible to avoid as they are supposed to be almost flush with the surrounding material.
This is how far I got.

What's that cleco doing there?? Well, when I was looking for those nuts, I must have dropped one and they are really tiny? I was looking for it for a while but could not manage to retrieve it. So, it's more stuff to get from Van's. BTW, I can't believe that they really just add the exact amount for parts that have a value of maybe 3 cents. I'd really think they wouldn't run into bankruptcy if they added one of each of these cheap parts above the very necessary amount to avoid having to spend a few bucks on shipping for such a mishap.
UPDATE: I ordered the "missing" nut and some other parts. Once they arrived I found out that the nut was not missing at all. It just turned out that the quality of these little nuts (MS21042-06) is so bad that in my case 2 out of 8 would not go onto the corresponding screw. At least trying to start the nut with my fingers failed in these two cases. Fortunately, I had ordered two replacement nuts - just in case - and it turned out to be just enough as one of the just received nuts wouldn't start either.
25% failure rate on these nuts is not acceptable in my eyes. Particularly because Van's provides only the necessary amount of 6.
Anyway, I'll continue with the other parts and put the nut in when it gets here some time next week.
I just noticed this photo doesn't show the pressed in bushings. Oh well, you'll have to wait until tomorrow then ...


No comments:
Post a Comment