
The ADSB-in is hooked up to serial port #2 and once I selected that it attached to a ADSB-470 it immediately worked. The ADSB-470 entry is pretty far down the list which appeared to be sorted by Dynon products first but then the ADSB box showed up way down along with other non-Dynon stuff.

You will see an additional active ADSB status page that shows you when you received what kind of information and how much of these packages you received since power on.
Great stuff, I could see a thunderstorm developing around me on the map display before I heard the first thunder. Unfortunately, I did not take a photo of that.
I disconnected the antenna and prepared for the installation of it. For routing the wiring I got some nice self-sticking foam clips. I think they worked great. The adhesive is made by 3M so it should stay on for good.

So I drilled the previously marked holes into the belly and deburred them.

The inside had to get treated with a Scotchbrite wheel to remove the primer and allow for electrical contact. I removed the primer generously around the stud holes and applied Burndy Penetrox A which is a di-electrical grease for protecting aluminum to aluminum or copper joints from oxidizing. It is a proven product with RF connections in Amateur Radio, so I thought this should be doing the job for my application.

Now, between the backplate and the primed inside of the fuselage I decided to place a star washer to promote electrical connection to the fuselage. I used the ones that are round and smooth on the outside and have their stars on the inside.
The studs would then get one star washer (regular, stars on the outside), a washer and an AN365 lock nut once they poke through the belly. For weather sealant I used the EAA recommended DAB sealant.

I needed a second hand to hold the sealant smothered antenna in place while I was trying to put all the hardware on the studs from the inside. My wife "volunteered" and did a great job.

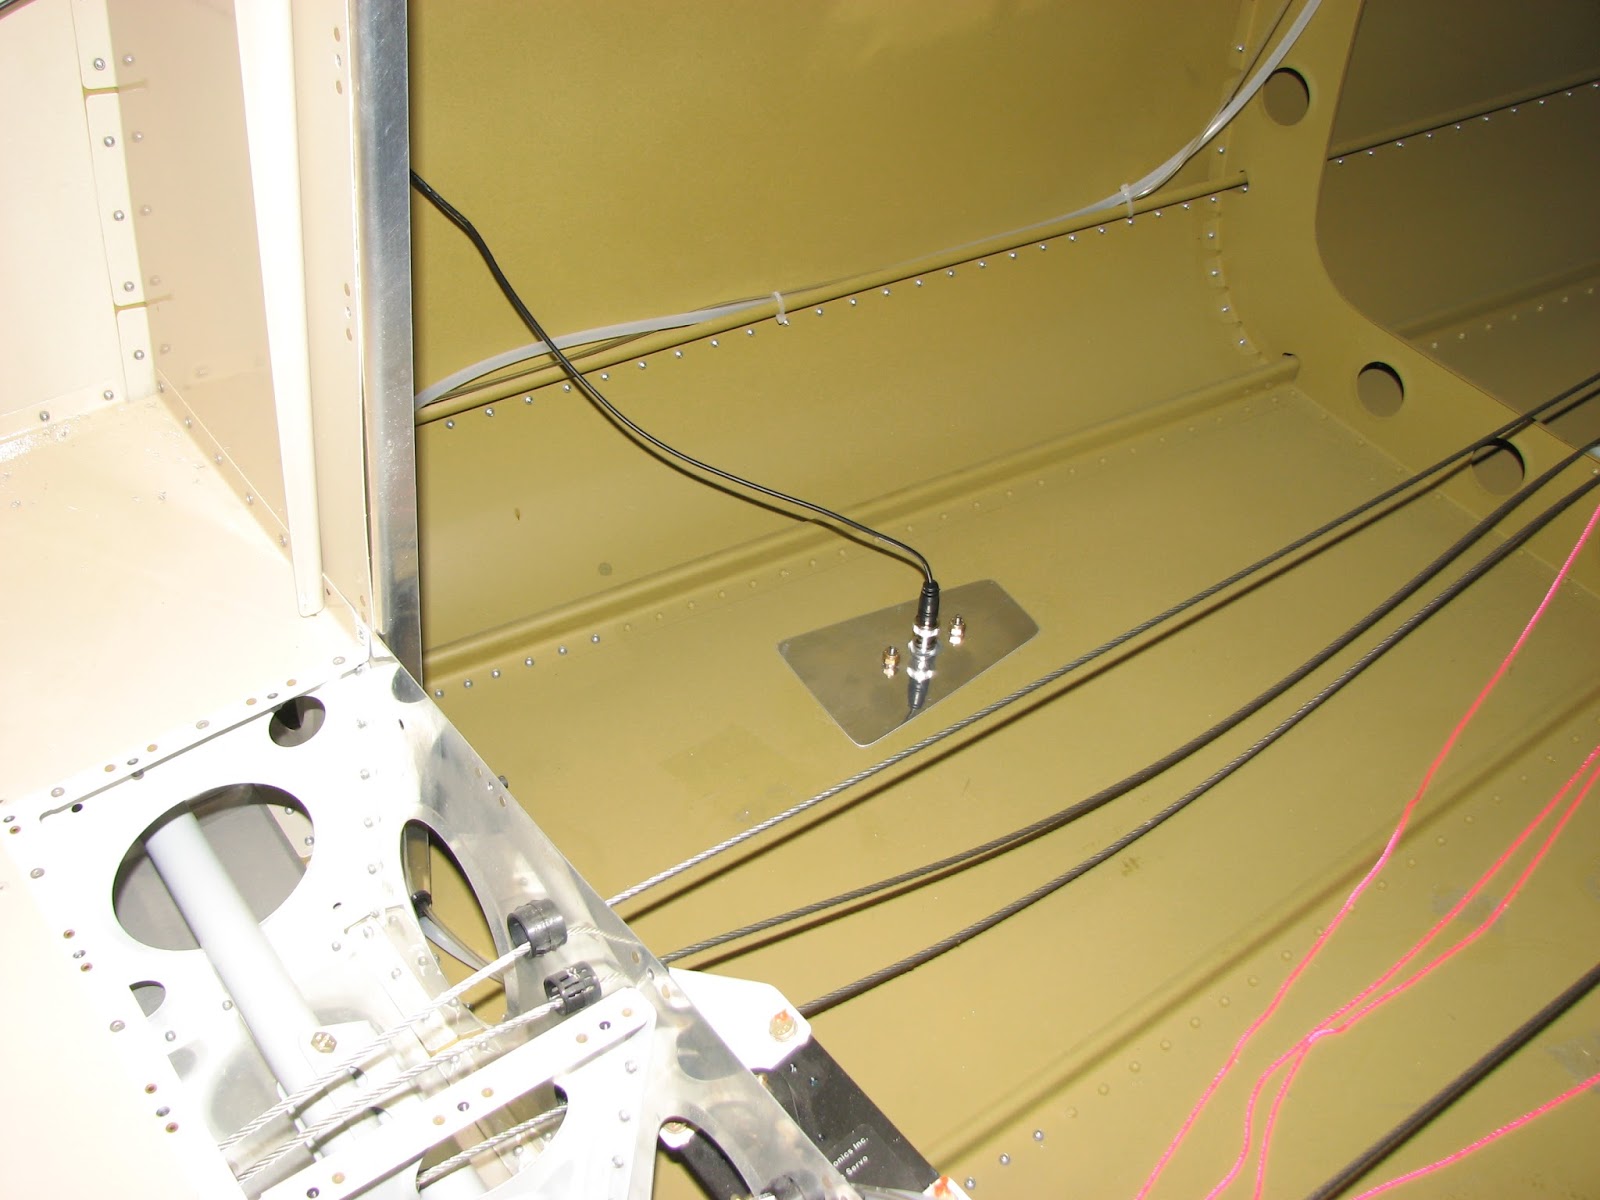
A 2' cable is enough to connect the box to the antenna and I quickly verified that everything was still working great. By the way, the antenna position I chose is 1' aft of the bulkhead rivet line and 10" outboard from the center rivet line on the tailcone.
All the antenna cables in the lengths I needed with sometimes odd combinations of connectors I got at Cables On Demand. I really liked their quality and the prices are great, so I thought I mention that here, in case you are trying to find a source.

But first I ran the cable path, also on the right side. I could not use the smaller snap bushing as the SMA connector on the cable would just not fit, so I had to use a slightly larger size.

I found a nice spot next to the map box and allowing the antenna cable to be routed next to the POH tray. You can see the rivet holes for the outboard flange of the tray aft of the snap bushing.
The only other bushing was required on the aft bulkhead.

The cable will sit way below the top edge of the fuel tank and will not be visible once the tank is in.
The forward route was a copy of the ADSB wires, under the canopy deck.

Installation went just as well as the ADSB antenna, although I have not yet tested if the installation really works.
Here are both antennas in perfect harmony (hopefully not from an RF point of view!).

This reminds of the beautiful cars they built in the 50's.....

I did not have enough of those foam clips for the wire on the right side, so I will have to clean that up some time next week when I get more supplies.


No comments:
Post a Comment