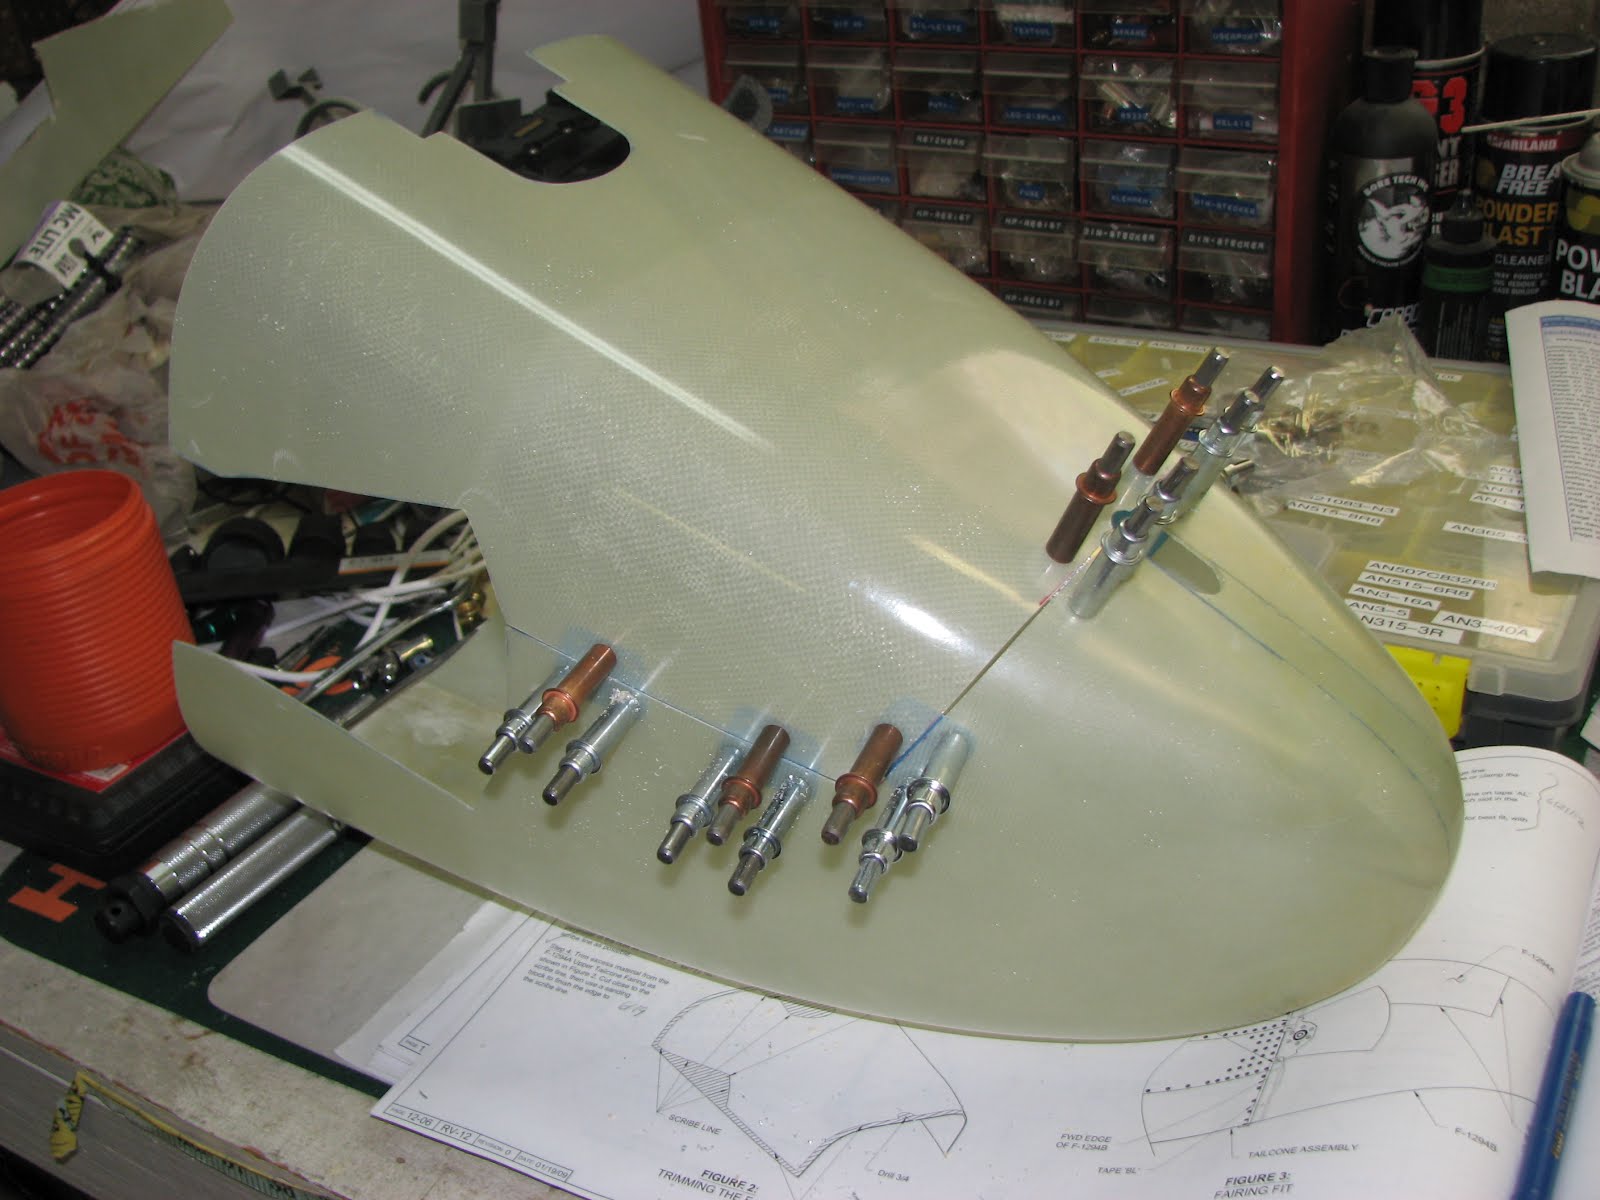
The task this time was to attach the tabs to the fairing that would connect the upper and lower halves. First the screw holes had to get widened with a #27 drill bit.

I clecoed with #30 clecos as I went on.
Once this was done, the halves and tabs came apart and Van's asked to countersink the nutplate attach holes in those thin tabs. I chose to dimple them instead, along with dimpling the attach holes in the nutplates. Easier, faster (with a pneumatic squeezer) and stronger.

The countersinking that had to be done was for the rivets that would hold the tabs to the fiberglass. I carefully squeezed and followed Van's advice that it was ok to not seat these rivets fully to not crush the fiberglass.

I then connected the halves with the requested screws to reinforce the structure before removing the fiberglass in the slit for the trim arm.

I went outside to open up that slit and to do fine trimming. Everything went well using the usual tools, angle grinder and pneumatic die grinder and some sandpaper on a stirring stick.

At this point I had to mount the stabilator again to do the adjust for clearance before drilling the attach holes into the tailcone skin.
I chose to skip that for today as the sun came around and was shining into that area I would have had to work in for an hour or so. At 110 degrees in the shade, I just said "No" to that.
Maybe tomorrow morning ...


No comments:
Post a Comment