Monday, May 31, 2010

Rudder Finished


In the evening of Memorial Day, I got to finish riveting the other side of the rudder and summing up the hours. Not much else to report. The rudder took me 14.5 hours to complete, including the prep work and the priming.

Sunday, May 30, 2010

Finishing the Rudder


The next day I rushed out to the shop to get that rudder finished. Everything was prepared and I was eager to get this part done.
With all the knowledge acquired from the other blogs I had the feeling that I was well prepared and that I knew what had to be done.
And indeed, it really worked without a hitch! Only the day was a bit too short. In the evening I grew tired pulling all those pop rivets and I just finished attaching one skin to the rudder and left the other one for the following morning.

Saturday, May 29, 2010

The Rudder and Schmetterling Aviation


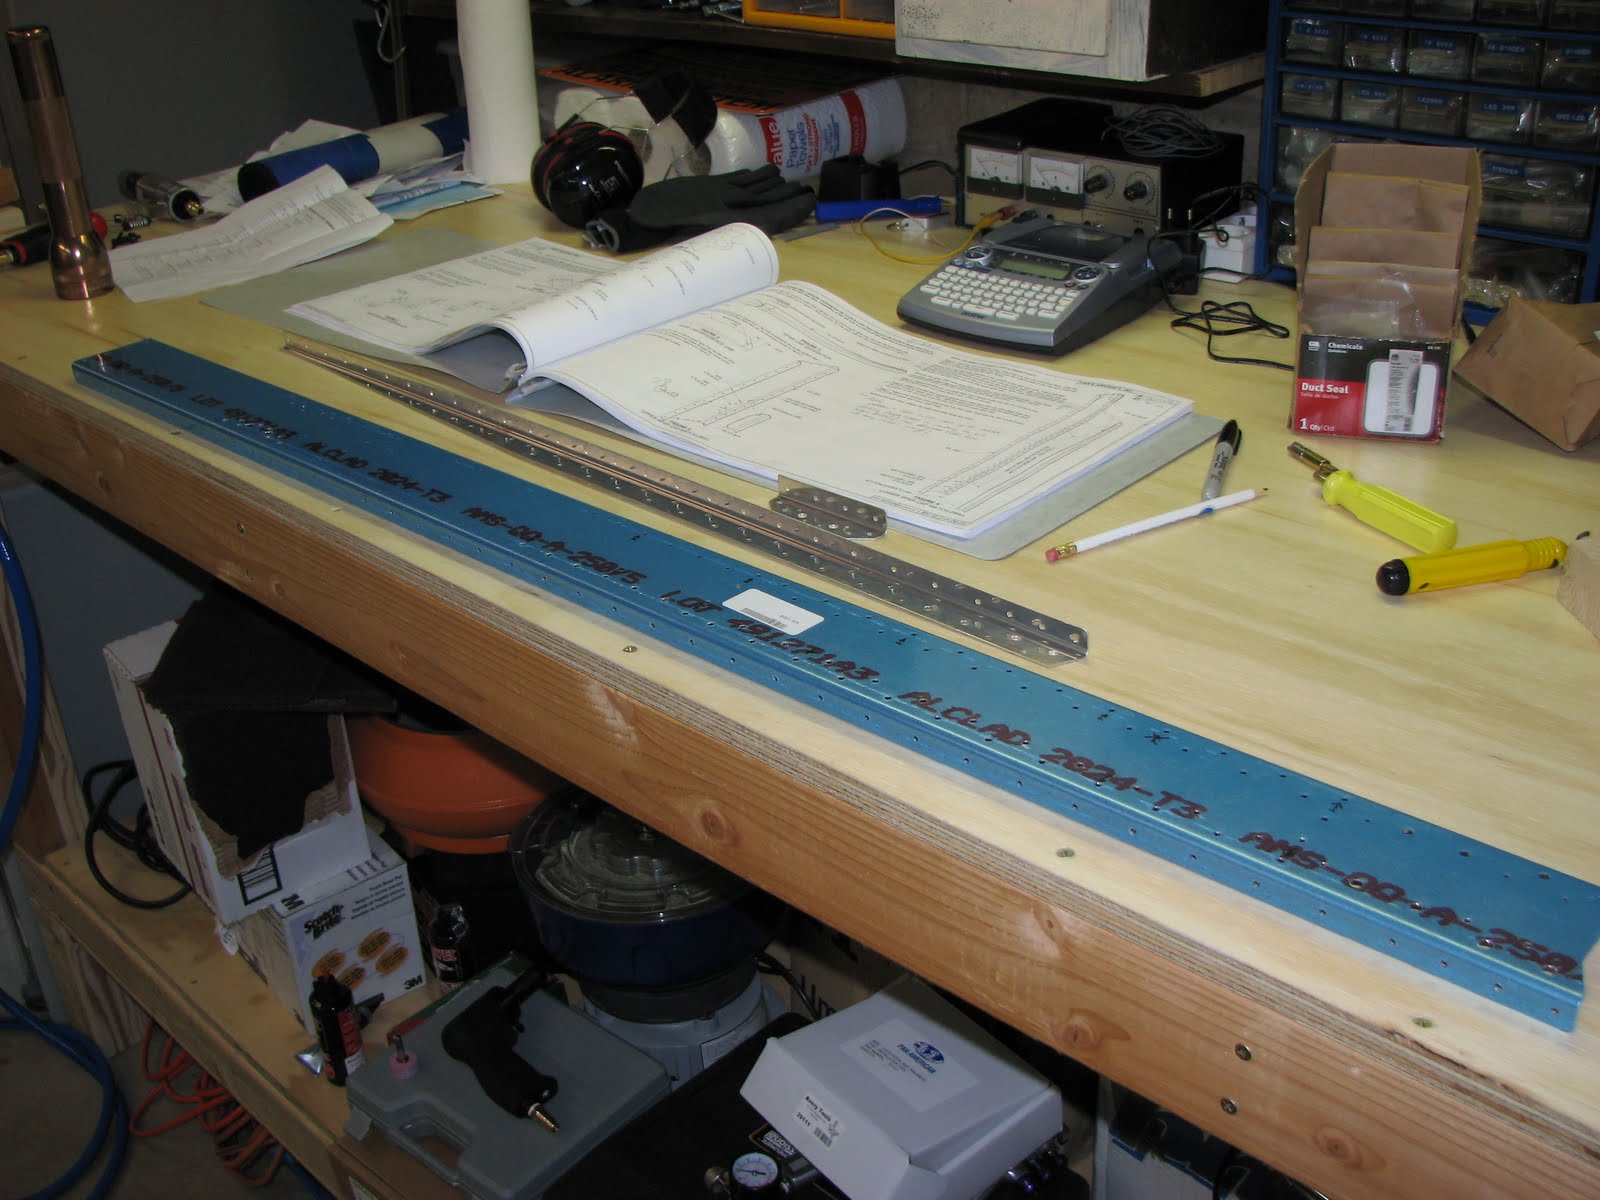
I started the rudder by preparing and prepping all parts as the number of parts is very low and it was easy to read ahead and see what I was supposed to do to finish this quickly. Now that I have the primer I want to reduce the amount of time spent to clean the spray gun and that is by collecting as many pieces for a spraying session as possible.
So, I match drilled, deburred edges and holes as far as possible until it was time to rivet - oh, wait! There was this one really awkward step in building the rudder. And that was to trial fit the clecoed rudder spar to the already finished rudder (you'll need to have finished the hinges - remember?).
There was no hint in the manual how in the world I was supposed to fiddle those handful of washers into the different places they were supposed to go into with just my own two hands! With a lot of patience (did I mention that I'm not good at that?) and calm hands and some sort of nihilism I finally put them all where they were supposed to go and ..... it just matched perfectly! It revealed that the travel stop for the rudder which is built into the lower hinge assembly was not even on both sides and the rudder horn did not rest on a large area on that stop on one side. This would cause some wear on the aluminum part later and as I had the upside down (and the downside up), I could easily trim this little thing to make it a flat fit. I quickly reprimed it to cover up the blank aluminum and that was that.
After all this time spent on putting it together I had a hard time to disassemble it - knowing that I would have to do this again some time far away. With a muffled sigh I did what I had to do and continued on to finish the rudder.
Now, as I am following other builder's blogs and websites, I was aware of two major problem I could have run into. The best (and most entertaining) description of these are from the Schmetterling Aviation blog maintained by Dave. He's quite a bit ahead of me and he seems to interpret Oregonian in the same way as I do which means we both seem to scratch our heads about the same manual instructions and run into the same problems.
Reading ahead in his blog told me that some of the rivets I was supposed to use where a tad too long and tend to bend (in a spot where drilling them out is not so easy) and that putting the shop head on the outside of an assembly can avoid the the thin ribs from separating from the opposite part. Be careful about the rivets that connect the rib to the spar where the spar caps go on (put the shop head outside (so that they're visible after assembly) and take extra care to shorten them to the necessary length as they're a bit too long. Also, when riveting the trimmed rib to the rudder horn, make sure that you put the shop head on the side of the rudder horn back plate although this won't look as pretty. Otherwise the rib will try to separate from the rudder horn back plate and this could be a structural issue (the rib is just a bit too thin to stay straight when the rivet forms the shop head).

I got everything prepared and ready for final assembly and then the day was over. The primer got some time to dry overnight which is good as the inside of the skin won't dry as fast as open parts.

Hinge Nightmare


After the primer had dried over night I started the shop day by putting together the upper hinge assembly to finish the V-Stab.
Clecoed everything together and then rivetted the thing with AD4 rivets. After doing the three closest to the bearing I tried it to see if the bearing was still moving freely.... and: Damn! It got stiff again and would hardly move at all. The same problem I had before.
Thanks to the Van's Airforce website I had found out that the only reason why the bearing could lock up is pressure from the cage surrounding it. I checked the assembly again after drilling out the three rivets and I found a hint of primer on the inside of the assembly right where the bearing is sitting on. I could hardly believe that this little could have such a huge effect but I was getting desperate and in lieu of another clue I went on and scrapped off the little paint spray dust that got on it. Once it was all shiny on the milled surfaces again I put it back together started rivetting and .... you wouldn't believe, it worked!. I set all 5 rivets and the bearing was moving freely just like before when the hinge had been clecoed.
So, be careful with the milled surfaces and make sure they are totally plane and clean before wasting your time on it!
The image shows the finished upper hinge assembly next to the primed parts of the previous attempt (notice the thick layer of primer in the bearing cut outs) and also visible are the unmodified parts of the hinge as Van's sent me an extra set of parts.

Screwing on the hinge onto the V-Stab was a piece of cake after that. You'll see pictures of the whole assembly when I trial fitted the rudder spar to the V-Stab.

Friday, May 28, 2010

Preparing the Rudder Ribs


So Van's had sent me the replacement parts to rebuild the upper hinge assembly for the V-Stab and so it was prep time again. As I wanted to prime the parts I took care of some more parts as the rudder ribs got drilled anddeburred and were ready for priming as well. As my Cortec primer finally arrived I wanted to use this expensive stuff and see if it really works wonders or not. This type of primer (Cortec VcPI-373 and the surface preparation with Cortec VcPI-440) is supposed to be applied with a spray gun and I had to learn how to use this tool before I felt good enough to try it on the real parts. I'm still learning the little details but for primer work I'm doing good enough.
I have to say that I'm pretty impressed by the Cortec stuff. Environmentally not too harmful, no nasty fumes and still a great result on aluminum.

Thursday, May 20, 2010

V-Stab finished... almost


And so I finished riveting the skin to the V-Stab the other day. Nothing surprising happened (I consider this a good thing). The only noticeable thing that happened was that my shop A/C broke and with over a 100 degrees it's a bit too hot out there to work without it. A replacement unit is on the way (the first just got 3 days old before it broke).
Fitting the nose of the V-Stab looked like a real bad job but when I screwed it on it just pulled itself in place. NICE!
So that was it with the V-Stab - except for screwing on the upper hinge assembly which I can't do as the parts are still on their way from Aurora. The previous parts couldn't get riveted without causing the bearing to freeze up,
On of the first assembly steps for the rudder is to trial fit the hinges with the rudder fittings and I don't want to get too far ahead this time. There might be a reason why Van's wants you to do it before assembly.
So, I'm limited to deburring and finding a place where to store all those parts I will eventually have assembled ...
Overall time for the V-Stab was around 35 hours.

Wednesday, May 19, 2010

Stabilizer skinned


In the morning, before going to work, I finished squeezing the last 9 rivets for the nut plates. I just couldn't let it sit like this.
In the evening I put the skin on and the fit appeared to be good. So I continued clecoing the skin on, beginning from the leading edge on one side. Everything looked good but I wanted to be sure and so I turned the Stab and tried to cleco the other side as well (raising the Stab on some coffee cans to clear the clecos from the workbench). After I did that I was pretty amazed that it looked like I was already ready to rivet the skin on - but then I noticed little buckles near the leading edge in the front areas of the ribs. It wasn't the radii that had been excessively trimmed in the previous steps, it appeared to the be the ribs being too long and the upper front pinched into the skin. So I took the skin off (oh my, why did I have to send my air cleco tool in for repair TODAY?) and the scratch marks on the inside verified that it was the rib webs being a bit too long. The die grinder took care of that and I made sure I wouldn't have to do this cleco party again! Scotch-Brite polishing, re-priming the rib noses, priming the inside of the skin, particularly where it got scratched and along the rivet lines didn't take long.
Then re-skinned, aligned and adjusted and finally riveting started. I got as far as finishing one side and starting the leading edge on the opposite side. The process is a bit slow as you have to go one by one in the leading edge area because of the high tension there.
Anyway, the V-Stab is almost finished!

Tuesday, May 18, 2010

VS skeleton ready, skins prepared


Tonight I finished the assembly of the VS skeleton, and put it aside to make room for the VS skins. Final drilled the #19 holes in the front and main skin and dimpled the nut holes and the rivet holes for the nut plates. I'm not sure how straight the edge of the front skin has to be that has to be trimmed after removing some excess material. I was very careful when removing the material but the edge doesn't seem to be completely straight. We'll have to see how that will look when the two skins will be put together.
When riveting the AN426AD3 rivets for the nut plates my hands grew tired on the last batch of 9 rivets and I had to give up for the night as I didn't feel I could still do a good job squeezing them. Those rivets are small but a large number of them gets me tired after a while. I think I'll be dreaming of a pneumatic rivet squeezer tonight. If only they'd be more affordable...
Just summed up my worked hours on the VS ... about 26 so far.

Monday, May 17, 2010

Another good day for confidence


Tonight I made up for my mistakes of the weekend! This time I read the manual first before enjoying the assembly too much.
As the modified countersink tool I bought on eBay arrived today, I was able to countersink those holes close to the flange on the upper spar caps. That was the last step before I wanted to rivet them to the rear spar and finish this part for now.
That all worked great and the new countersink stops worked perfectly.
So I got to assemble my first ribs to the front spar and install a bunch of nutplates with countersunk rivets. I was amazed how nice everything worked out and after spending another 5 hours in the workshop the lower part of the VS started to become visible!
Tomorrow I will add the remaining ribs and the rear spar and then we'll be able to see what this is supposed to look like!! I am excited!

Sunday, May 16, 2010

2 steps forward, 1 step back


It was a busy weekend and I had a lot of fun, until I discovered that I got carried away and riveted way too many holes that weren't supposed to get riveted just yet. Well, at least I had a lot of practice with my rivet removal tool - oh, how much fun I had!
But there is hope! It seems I am learning from my mistakes as I didn't repeat the same mistakes on the left side of the rear spar, so the caps went in well and also the countersinking seemed much better this time.
I am still having trouble with the upper hinge assembly, as the bearing seizes when I rivet the brackets. The lower hinge worked just fine, but the upper one I riveted 3 times before giving up. I sent an email to Van's Tech Support.
The primer rattle cans arrived and I started priming the first parts of the vertical stabilizer that were in the queue for assembly, I also started riveting my first pop rivets. That Avery gun worked great and I had so much fun that I just riveted along. Unfortunately, I riveted much more holes as I should have, but I am repeating my self. After removing the unwanted rivets it looked like I got hardly anything done besides burning time...
Fortunately I spent Saturday at Aero Fair in Payson, AZ (KPAN). The flight was a lot of fun and passing Apache river and Roosevelt Lake was very impressive. To clear the mountains in thermal conditions I flew up to 9500 ft. I've never been that high in my little butterfly LSA :-)

Tuesday, May 11, 2010

A good day at the factory

Yesterday evening I had a real good time at the aircraft factory! At least, that's what I'm thinking now as I haven't found other issues yet I might have created.
I copied the assembly preparation for the left upper and lower spar cap from the already finished right side. This time, though, without making the same mistakes again!
I've also learned how to avoid having different results with the countersinking cage for every hole dealt with. My friend Tom who built an RV-6A told me to go real slow in RPMs when using the cage. So I put the cage on my electric screwdriver and - voila - no vibrations that elongate a hole and a nice and repeatable(!) depth. I tried to use the drill press, too, but it created the same problems as my pneumatic Sioux drill did and I even tried to slow the drill press down to around 500 RPM. Either way, I got different depths and sometimes elongated holes. The screwdriver is the way to go for me.
So far I've spent about 14 hours working on metal.
Sorry, no photos yet, I was too tired last night when leaving the factory.
Oh, because my Cortec primer (VpCI-373) is not going to be here soon, I ordered some rattle cans of Tempo Zinc Phosphate to get started with the riveting. It will also help with priming small amounts of parts that wouldn't justify the setup and cleaning of the paint gun.

Sunday, May 9, 2010

right VS spar assembly ready


I finished the right side of the VS spar today and promptly ran into my first problem. Among all the match drilling were 6 holes that were much bigger than the others (#12). I was so in my drilling flow from all the #40s and #30s that didn't pay too much attention when drilling the biggies. It seems that I didn't center the drill bit when I drilled and I created elongated holes in the spar for half of them. The match drilled parts underneath had perfectly round holes in them so I know it must have been a centering fault.
Fortunately, it seems I could fix that by widening the holes a bit with a Dremel tool without removing too much material.
This taught me a good lesson though - never just drill without double checking that you really want to have a hole right there.
This section required a lot of material trimming and I'm not sure if I'm using the right technique (filing) but the result sure looks great, so I'm not too worried about it. It's going to be about 3 weeks until I get my primer, so I shouldn't go too fast right now.

Saturday, May 8, 2010

First part ready for assembly


Today I started to work on the rudder hinges and if I had had my primer, this would have been my first finished part. I will leave it clecoed until I'm ready for putting on the corrosion protection. I'm pretty proud of myself anyway.
That's why I started to work on the spar of the vertical stabilizer. The tools feel all new and I am still learning how to best use them, so I'm going rather slow. I think I can finish one side of the spar reinforcements tomorrow...

Friday, May 7, 2010

Inventory done


Nothing was missing. The box looked fine and the content was in perfect shape. I unpacked the small parts and ordered them by units in the hope I find everything when I need it. The workshop is as ready as it can be without me knowing what I'm doing, so I think I'll start tomorrow to take a look at things.

Tail kit arrived!


So, on Friday the empennage kit arrived. I was quite surprised it got here so early as I expected two weeks until shipment and now it's here - just 2 weeks after mailing in the order. I guess I should have ordered the primer a bit earlier as I can see how I am going to wait for this. My intention was to prime everything before assembly, which means, no riveting until the primer got here.
Anyway, I'm totally thrilled that I am really starting to build an airplane now!
I am starting the inventory right now, what else is a Friday for ... This way, I might be working on my first parts on the weekend.

Monday, May 3, 2010

Tools are rolling in, money is pouring out...

More and more tools are arriving here and I'm pretty busy setting up the workshop and getting everything ready to start when the kit arrives. Speaking of which.. Van's emailed me that they might be ready to ship it by the end of this week. Let's see.
In the meanwhile, my account gets drained paying of all these new toys for the workshop.
Oh, if you happen to order the RV-12 tool kit from Avery, you might not have to buy any more brown bags for your lunch for the rest of the year as they pack everything in just those kind of bags ... At least some money you can save then ;-)