Showing posts with label Section 20. Show all posts

Thursday, January 6, 2011

Section 20 Done

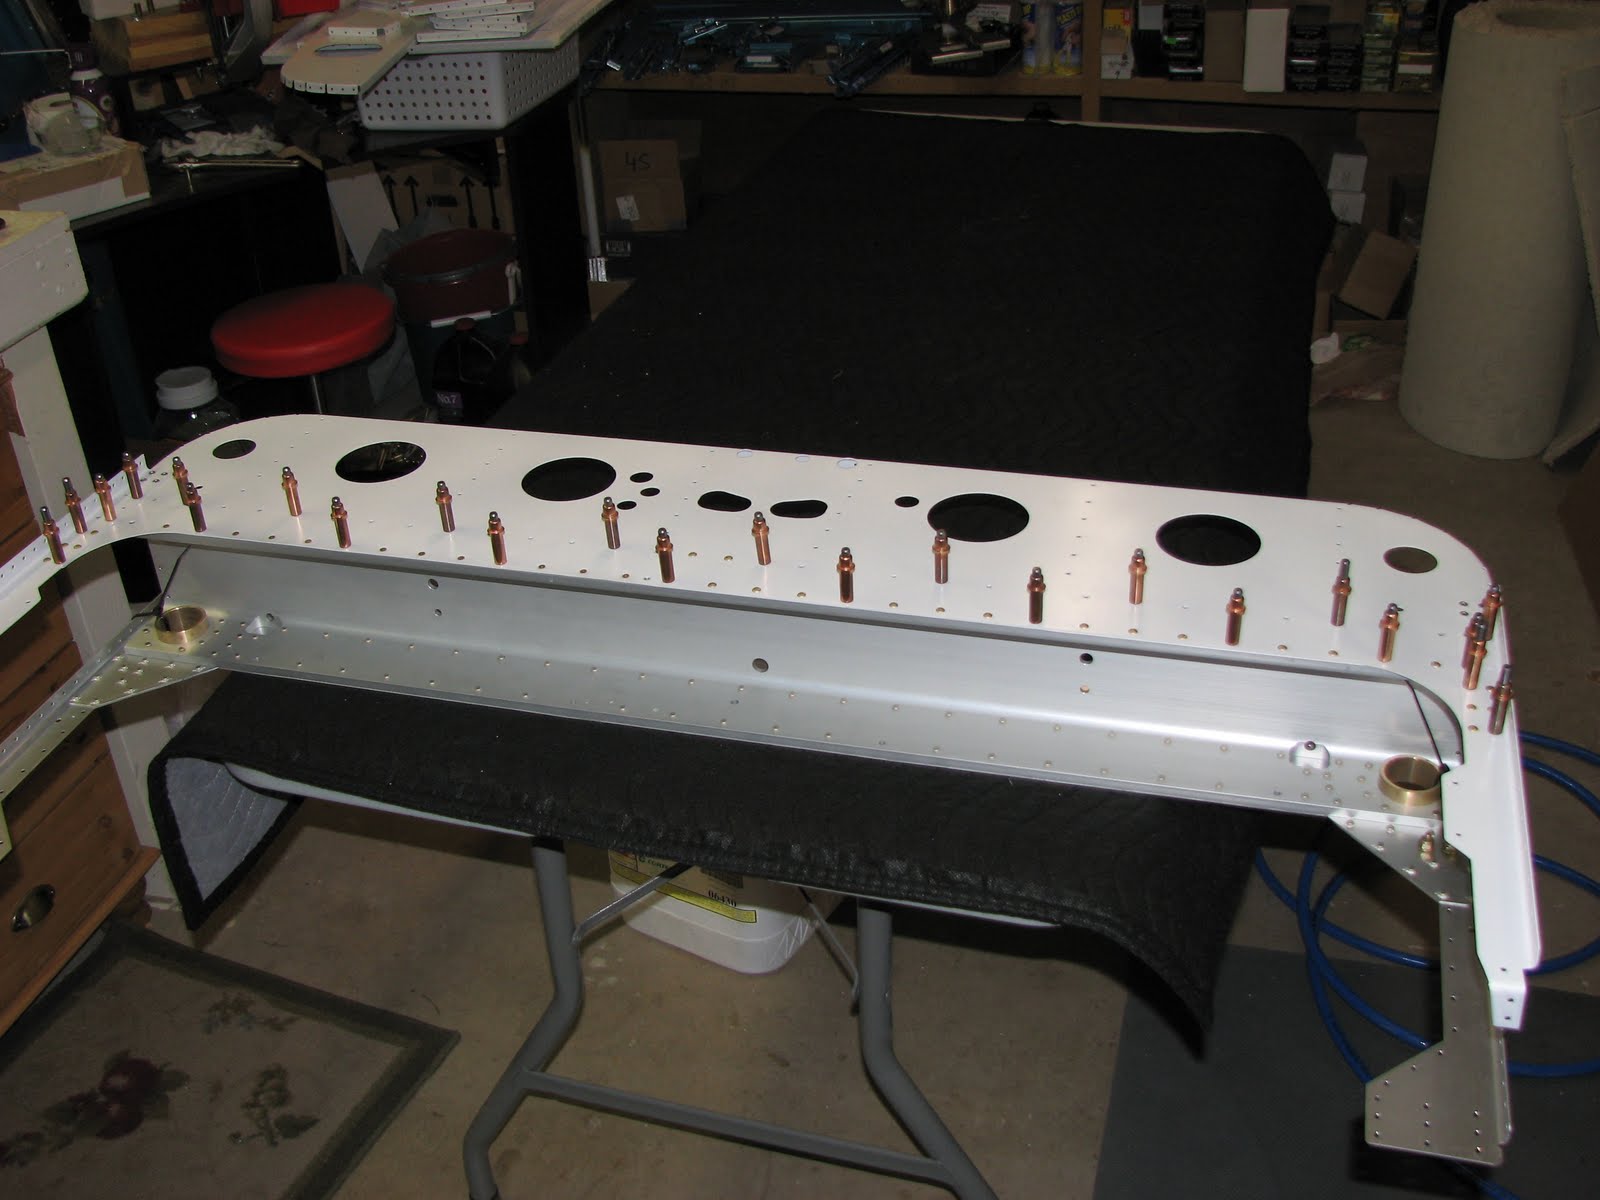
Tonight I finally got to some riveting action. Not popping but squeezing action. It was time to rivet the rear bulkhead to the center section. And, boy, was I happy that I had bought that pneumatic squeezer! I recently have developed an annoying pain in my right wrist that could be this Carpal Tunnel Syndrome and this would have made it quite impossible to squeeze these rivets by hand.
Before the squeezing action there was a bit more of match-drilling required. At least that's how I did it to avoid getting a chip caught in between the bulkhead and the center section. This match-drilling also required to pull one of those frickin' huge skins out of the box and temporarily cleco it to the center section. This time it was the side skin. There are two but they are identical so you can use one for both sides and make the match.


One of the holes in that little stiffening angle is so close to the bulkhead that you need a long drill bit to get passed all the obstacles unless you have a really small angle drill.


The hole that's open in the picture is the one needing the long drill bit.
Once the match-drilling is done, you remove everything and deburr the holes and clean the chips off and then cleco it back on to rivet it.
It was after this that I riveted the rear bulkhead to the center section.


Ready to go! Once the pneumatic riveter is set and the rivets have been put in the holes, it is a fun job to just repeatedly squeeze the same length rivets. Very quick, very precise. I love this tool!


and the other side ...


Finally, it's time to pull the rivets on the skin stiffeners.


And this completed section 20!
I started looking into section 21 but got quickly confused by the step two on 21-02 which asked for a hand squeezer using two flat dies to squeeze cupped rivets on the floor boards. This doesn't sound right and it was getting late already, so I just put the floor boards in place and seated some of the rivets that held them in place.

Sunday, January 2, 2011

New Primer is Nice

I was using the Stewart EkoPoxy primer for the first time today and I am impressed. The result looks really nice despite me being a bit hasty as I was running out of daylight. It is a very nice product and really easy to spray and forgiving. Let's see how durable it is...
So, in short, after the sun warmed the frost away I was prepping the parts for the next step in the fuselage assembly with the ol' Cortec-440 and then shooting the EkoPoxy primer. Unfortunately, I ran out of daylight before being able to finish the backside of most of the parts. And around that time I had also used the batch of primer I had mixed, so that was my prompt to clean up and call it a day. As the primer goes on easy, I might be able to finish the work during the workweek or I might decide to deburr and prepare more parts for a larger priming session. Sigh! Why again did I chose to prime?

Wednesday, December 29, 2010

A Little Bit of Everything

I continued with Section 20 this morning but there was not much more to do before I realized that the next step would be priming. And as I decided to use a fuel proof epoxy primer for the fuselage interior (for the obvious reason that the fuel tank is inside) which wouldn't arrive before Thursday, I had to hold off on that. All I could do was countersinking the angle and dimple the corresponding holes in the aft bulkhead.


To not lose the whole day I started on Section 21 and prepared some parts that will be riveted to the center section soon and therefore also need priming, the floor boards and the aft ribs as well as some small parts. I deburred them and also did some dimpling one the floor boards and the ribs that share the nutplate line.


The Stewart Systems primer is supposed to arrive tomorrow, so I see that I get the parts prepped for priming before the UPS guy comes along. That'll be tough as we are having a cold front moving through and it'll be stormy, rainy and around freezing, so playing with water and working outside is not real fun anymore...

Unfortunately, the replacement skin for the flaperon won't make it here before Monday, so it'll take a while before I can revisit this screw-up and try to determine what went wrong.

Tuesday, December 28, 2010

Fuselage Started

Today I started on the fuselage after finishing the right flaperon by putting the rod end bearings in and fixating them with Loctite. When the Loctite is cured I am going to cover the bearings up with blue tape to keep dirt out and masking them for painting. I had overlooked the note from Marty Santic to leave the bearings out until final assembly until it was too late as I had the Loctite already put on. Oh well, I guess it'll have to do now.
The Loctite is supposed to cure for 24h so I left the flaperon on the main work bench and as the secondary work bench is covered with tools, I need a place where I could start building the fuselage. The folding tables are really universal!


Then, right on the first step of working on the wing receptacle of the fuselage something happened that hasn't happened during the hole build before and that I had read so much about in Dave's blog! A pop rivet's mandrel broke off in the riveter. It's this kind of rivet Dave had complained about so often, the CC264 a small AD3 size pop rivet that I had no problems with before. I used a full size hand riveter when it just broke off.


And then it happened again, right on the same nutplate with the same riveter. Incredible! I then used the close quarter riveter for the next nutplate and everything worked ok. I wonder if it's a riveter or a rivet problem. The ones I had before where black in color with a silvery mandrel. The set I got with the fuselage kit are all gold.


The rivets sit tight and using a hammer you can punch the mandrel out the other way. That's ok with this type of rivet as the mandrel isn't supposed to break anyway but gets completely pulled through the hollow rivet.

After this little intermezzo I went on to the real job in this section. Matchdrilling! Therefore you have to place the wing receptacle with the rear bulkhead clamped to it onto the bottom skin and cleco the bottom flanges to the skin. This sounds easy but it isn't. The problem is the size, weight and flimsiness of the parts involved.
Basically you have to get access to the bottom of the skin to cleco the flanges while the heavy center section is attached to the skin. All without bending and possibly damaging that large but thin bottom skin. I saw in Dave's blog that he flipped the parts upside down which is hard to do alone and you need a lot of support piece that I just didn't have to keep the parts straight which I just didn't have. So I came up with something else that I could do alone. I built up some support on the bottom where the skin rest on securely while giving me access to the center section to cleco the flange to it.


Well, this look ok to work on but you didn't see the trick yet. A shot from the side that shows the tunnel that I built to get access to those vital holes. Just enough room for a hand with a pair of cleco pliers holding a cleco. Clecos already put in for clarity :-)


The rear bulkhead is a bit shorter, so the whole section was leaning towards me when I was trying to drill a straight hole in this piece. To make it easier for me to see the reflection in the aluminum I supported the rear bulkhead side (which is the front in the picture) a bit more before starting drilling.


Ready to go! God, I always loved my little Sioux drill but today I found out how much I really love it! This little devil was eating through that thick aluminum angle that was supposed to get match drilled like it was butter. I put a new drill bit in after I had possibly dulled it a bit drilling the counterbalance tubes, but still - the drill did a great job - while being not too loud at all.
I think it took about 6 seconds per hole. I added a drop of Boelube for every hole to make sure the cut off would easily move out of the hole during drilling. About half time after around 45 minutes as I was very careful making sure the hole was perpendicular to the surface.


And another 45 minutes later it was done. What a mess on the floor though!


Cleaned up the mess and took two more photos to verify that I did a pretty good job staying straight while drilling. Yeah, I need that pad on the shoulder after the left flaperon experience.


I took the parts apart and deburred the match-drilled holes before calling it day in the shop. That was a nice start in a new section!