Anyway, it didn't take too long to cut the strips. A 3' straight edge along with a sharp pizza cutter wheel were very helpful in this process.

I also cut the necessary plastic sheets from the leftover I had from tearing down the paint booth. It's 4mil PVC but on the straight center area that should be good enough to adjust the wetted glass strips.

So I was ready to go for Saturday morning. The day started with sanding the overlapping area for good connection with the fresh glass strips. It's a bit hard to see on the black epoxy. Watch for the grey areas.


Notice how I did not lay everything up to the same edge on the sides. This will make it easier to smoothen the transition into the center area by staggering the overlap in reverse. I hope this is a better structural connection as well as easier to shape (sand).
Speaking of sanding. For the sanding part I followed Dave's advice and bought one of these Octopus sanders.

I used it on this sanding job just to see how it worked. It worked pretty well, for about 10 minutes. The reviews about this sander were overall not very good The main problems reported was that it just broke or the adapters broke or the sanding pieces broke. I bought it anyway for the 2" radius tool which seemed really nice. Well, after sanding just the edges of the canopy sides, the velcro detached itself from the 2" radius piece.

The glue they used at the factory is obviously not suitable to bond plastics. I sanded the rest of and applied plastic epoxy and glued the velcro back on. I hope the rest of the sander will last through the canopy job at least. So far I am not impressed with the quality of this tool.
I started the layup, not forgetting to add the dye this time. I had to work very very fast because by now the sun was shining on the black epoxy and you wouldn't believe how hot this stuff gets out in the sun!
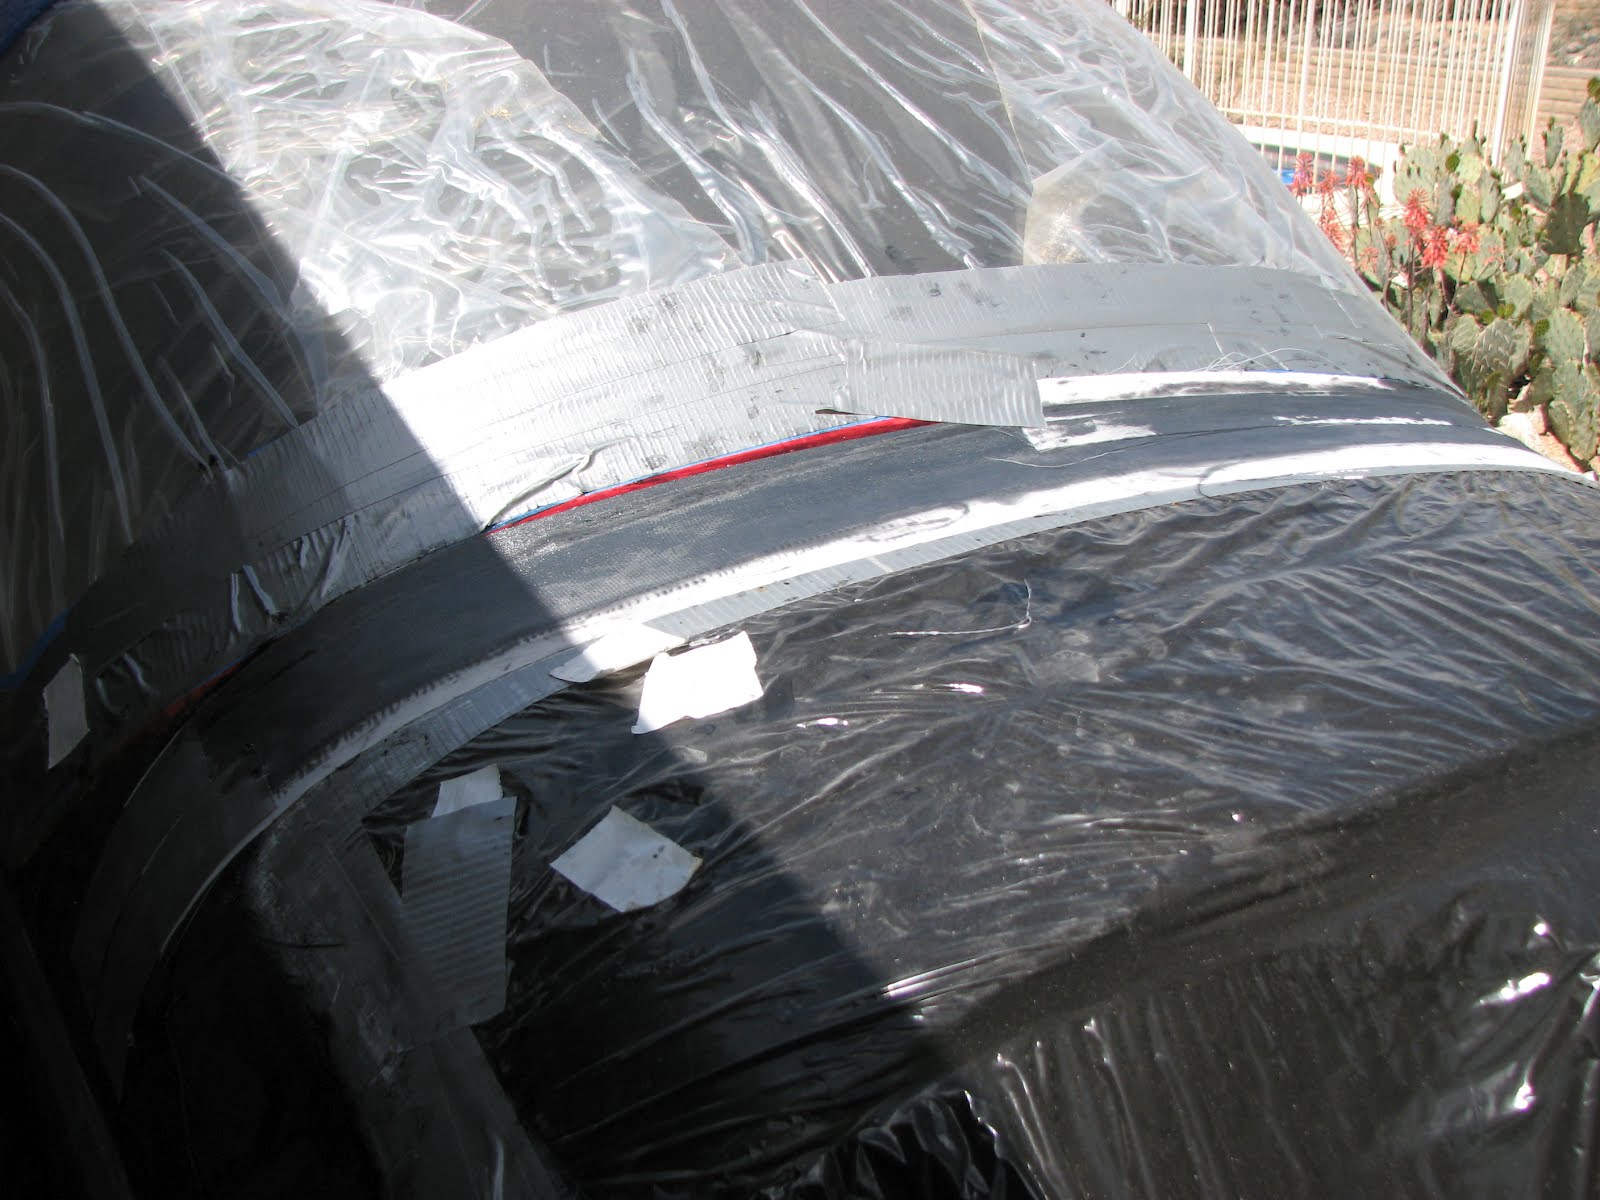

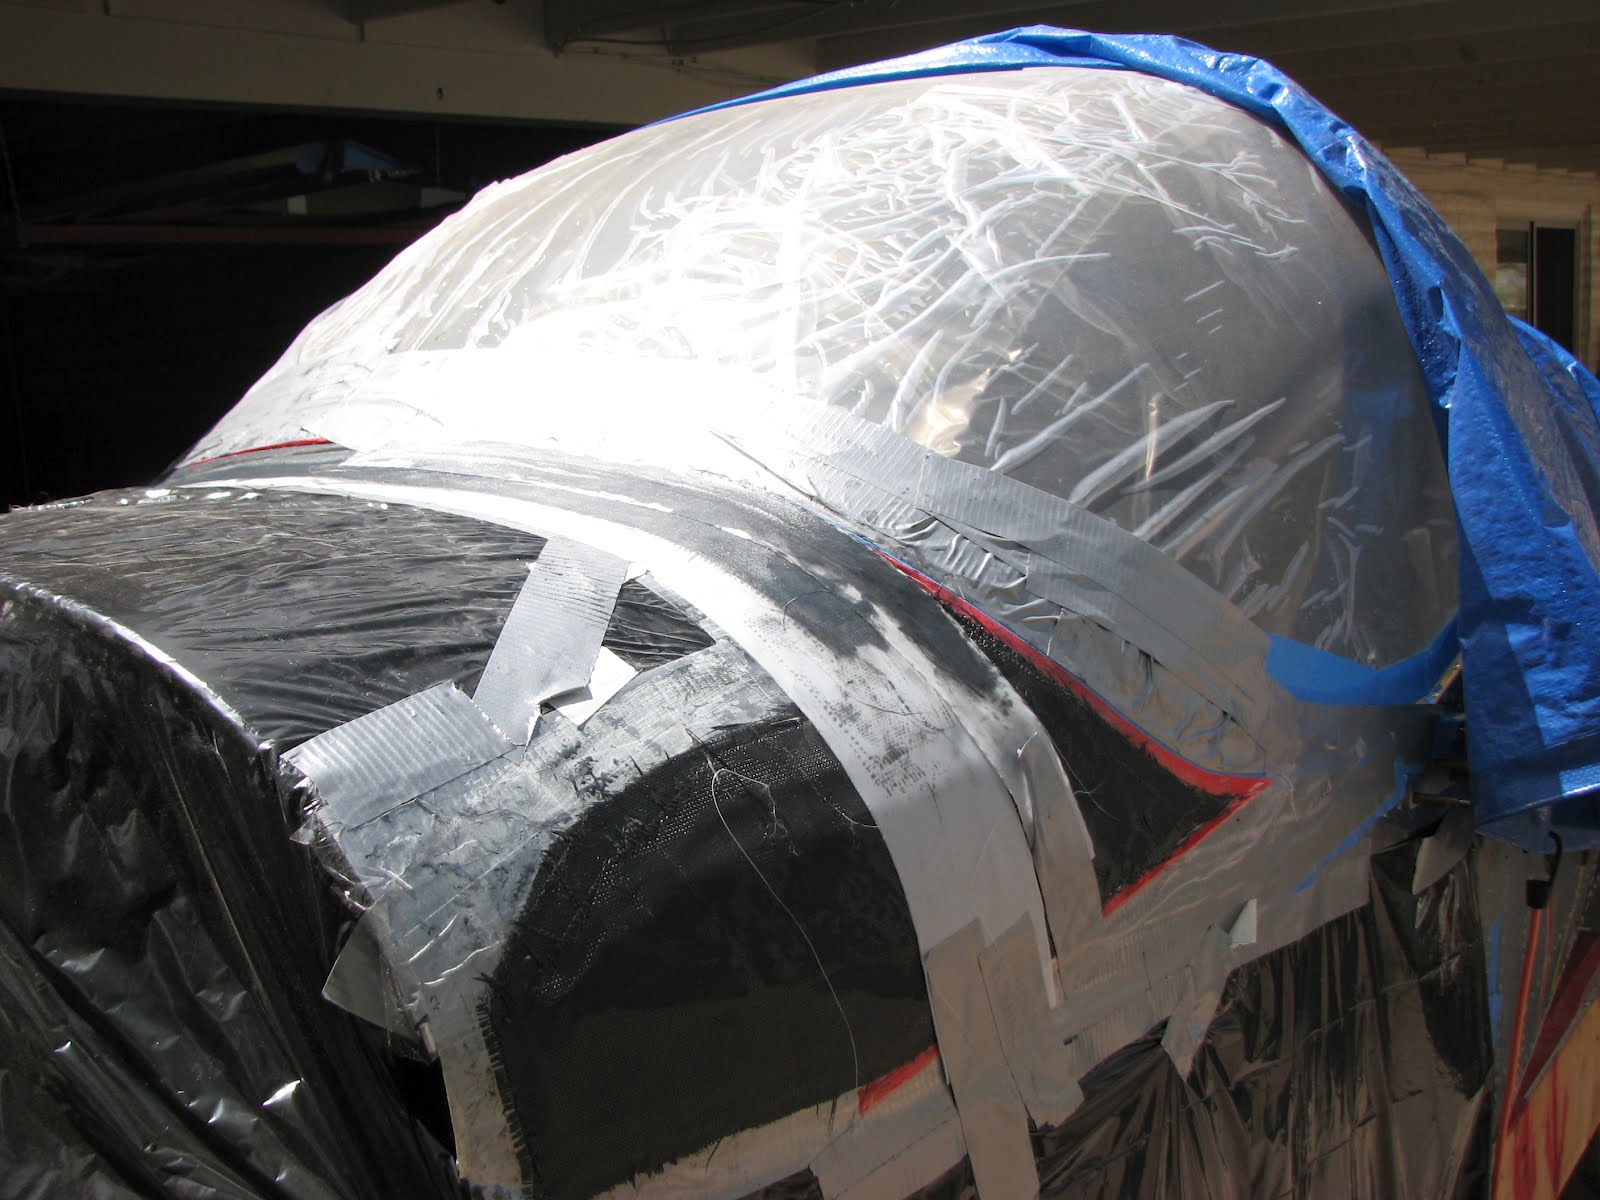
So I had no time to take intermediate photos during the layup process. I even had to rush to put the Dacron on before the stuff would gel up. I pushed the Dacron down into a bed of epoxy I had put on with my finger along the masking tape line to the canopy. I wanted to make sure I get a smooth finish at this line. I literally burnt my skin through the glove. That's how hot this resin got in the sun!
And then Fedex delivered the Avionics! The rest of the day was dedicated to do the inventory on the newly arrived packages. Everything was there but two pieces are on back-order, one of the a harness that I assume would go in the tunnel, as this is were I would like to continue after the canopy. I'm not worried at this time as the canopy will keep me busy for a few more work sessions.


No comments:
Post a Comment