Saturday, January 15, 2011

Forward Floor Coming Together

I guess that's a pretty fitting headline as most of my work today was going into the forward floor of the fuselage. That is after I was happily removing the flaperon from the workbench and moving it to the hanging storage rack.
After that I riveted the pulley bracket to the supporting floor ribs and the stiffener.


After that the same happened to the flaperon mixer assembler. But careful! Part of the assembly is done in section 39 which installs the autopilot servo brackets. This is where to stop.


As the second supporting floor rib for this assembly needs some material removed and some beefy stiffener installed to support the servos torque. Removing the material was easy with the pneumatic nibbler. Cleanup of the cut was done with a hand file with the rib in a vise.


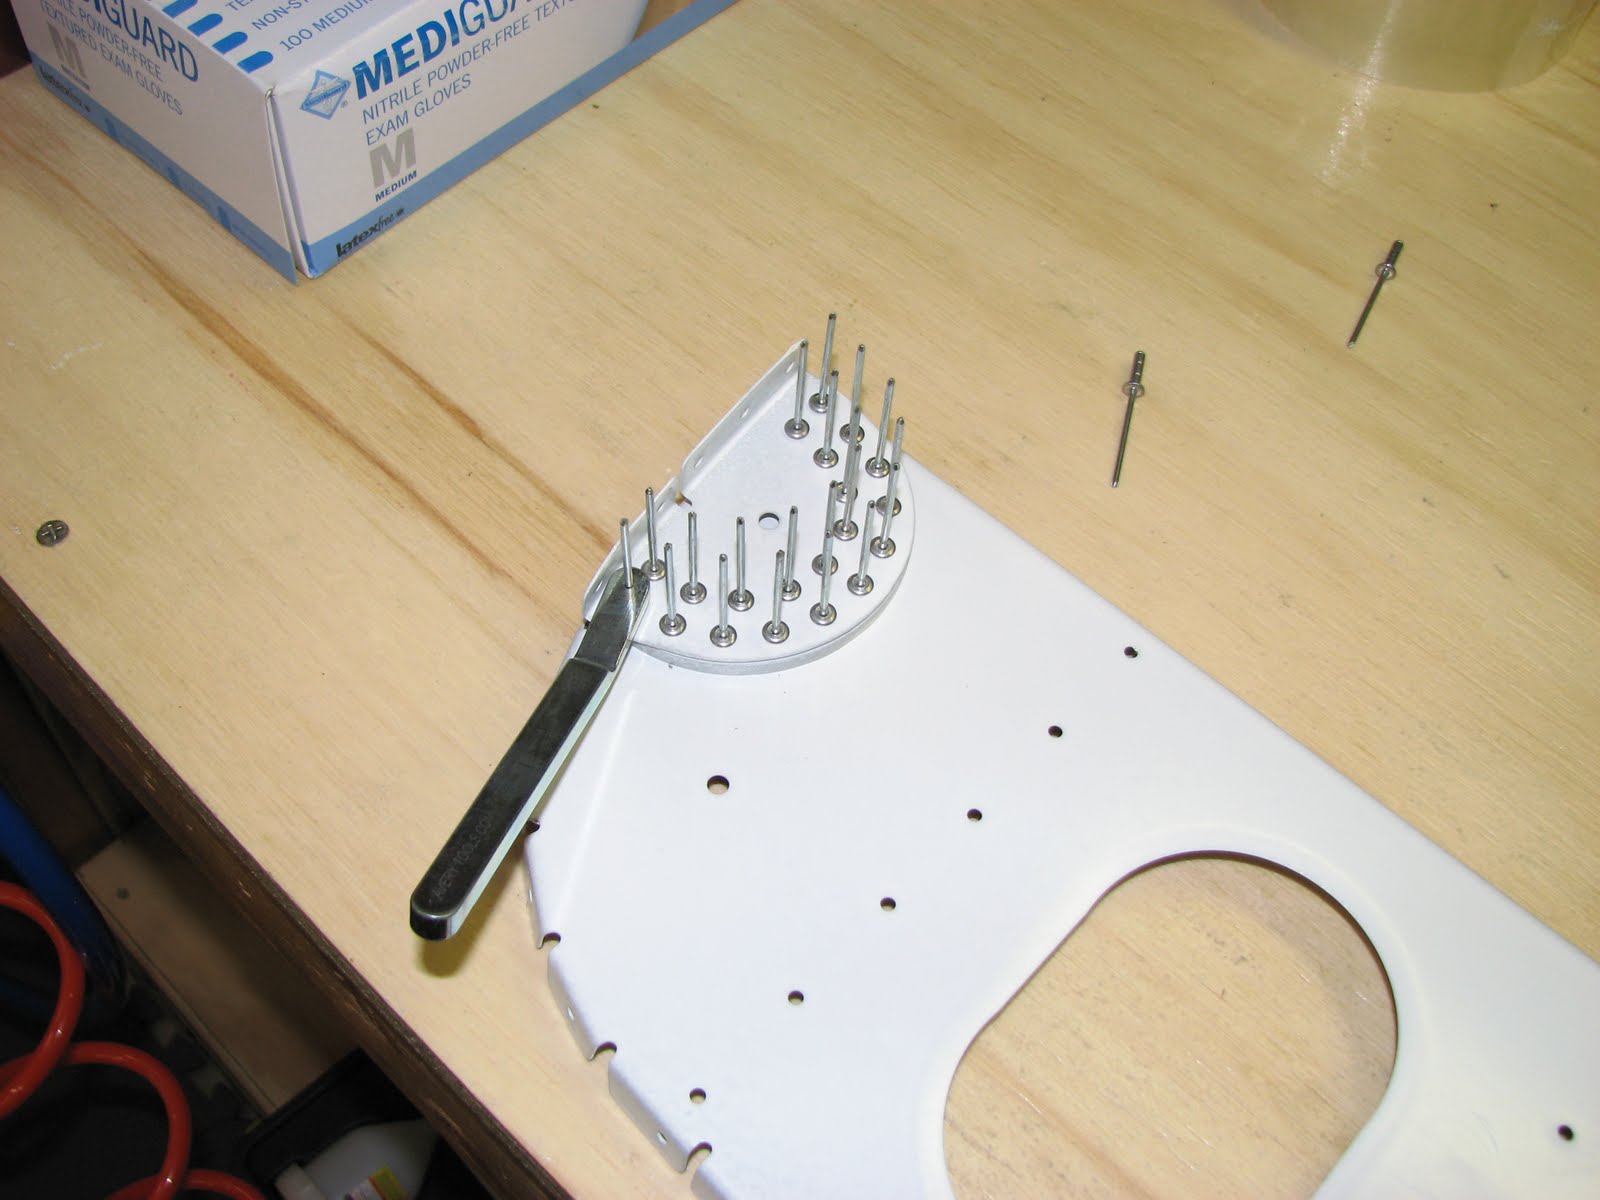
Then the stiffener gets installed, along with some match-drilling and some worries about how close that nutplate is sitting to the #12 hole and how I would get anything passed that. Later I found that the manual has you jump over a step that had you drill out one rivet of the nutplate to pivot it away from the hole, along with other things that were not required. I guess it's an oversight that Van's had you jump completely over this step as removing this one rivet is indeed required.


After catching up with this oversight the rest of the installation was cake. This photo was taken right before I realized that for installing a screw in this hole close to the nutplate I had to get that nutplate out of the way.


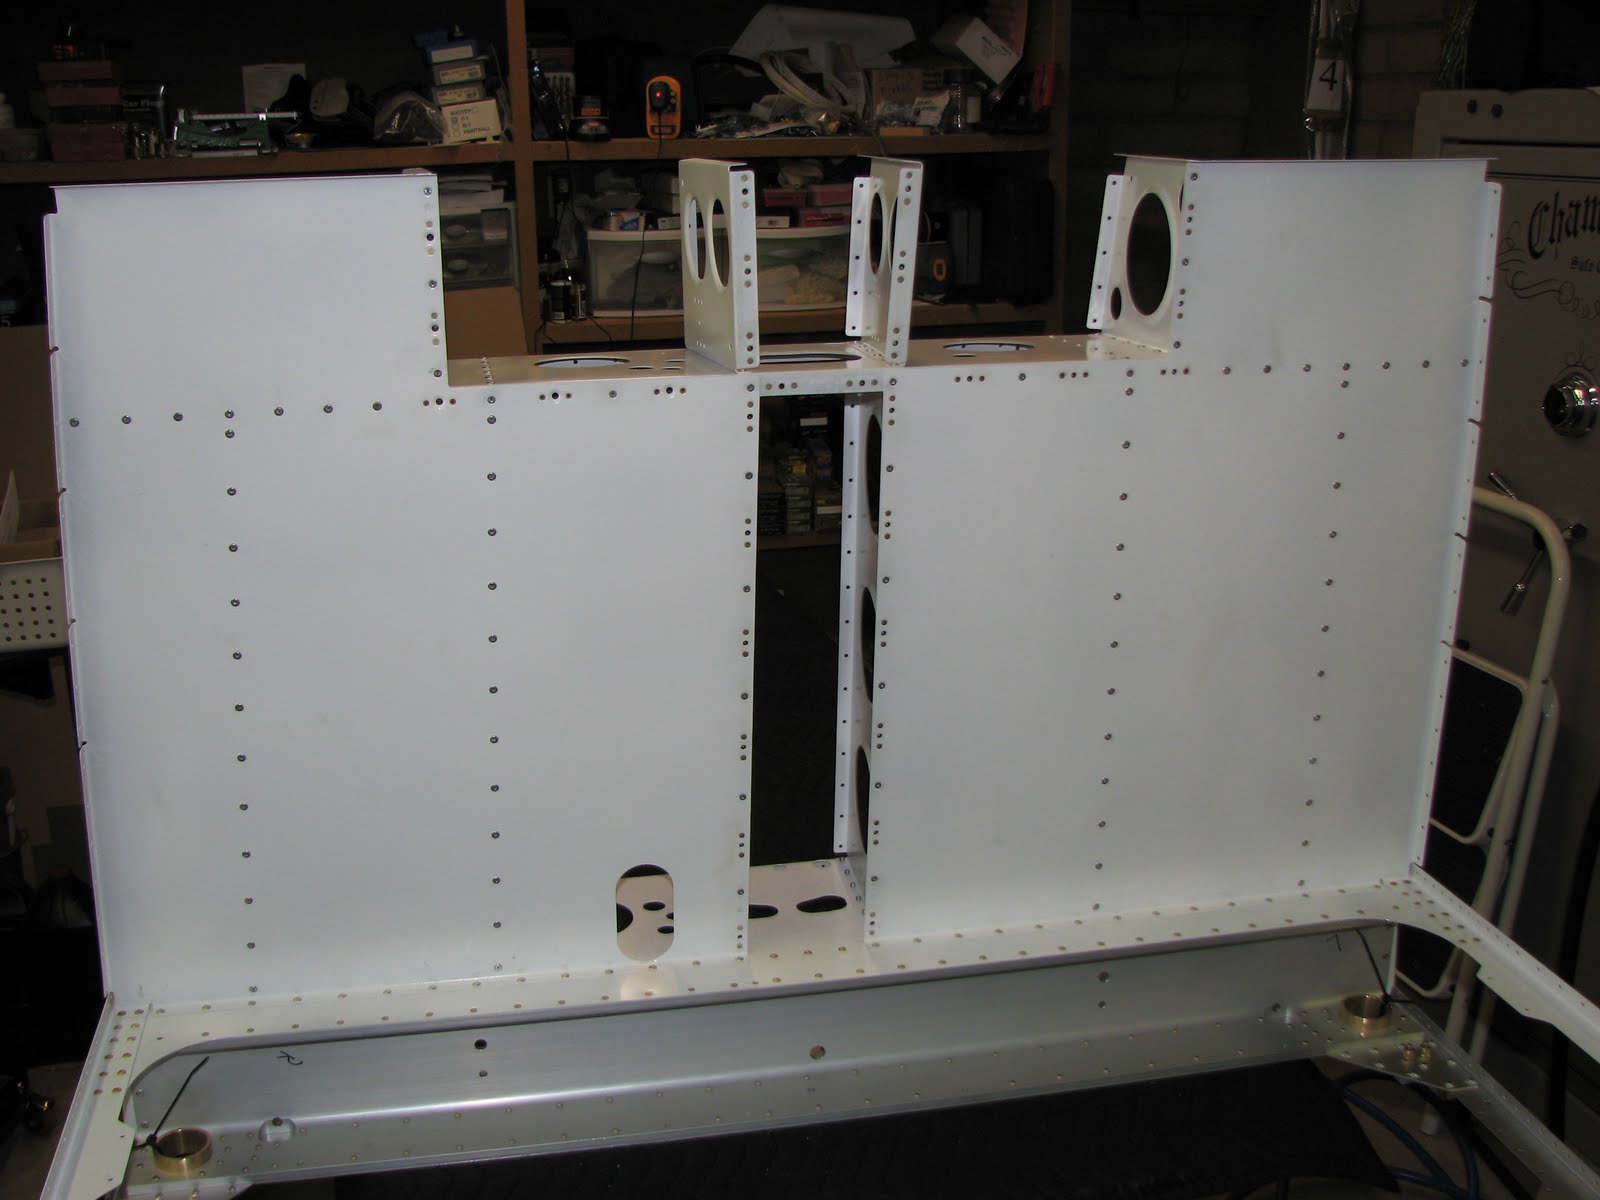
Then two additional brackets are attached as well as another rib to the existing assemblies (the one with the pulley bracket and the one with the flaperon mixer). Here's the one with the mixer:


and here's the one with the pulley bracket:


Oh, by the way, on of the brackets I just installed in this step (actually two as there's a pair for each side) has nutplates installed with these dreaded CCR264 rivets and as you cannot dimple the holes Van's has you machine countersink these. But the material is paper thin and not really good for this. In addition there are two holes per bracket located on the outside of the flange where the countersinking cage doesn't have enough surface to rest on to do a good job. I messed up one bracket that way (not bad enough to replace it but not good to my standards). On the other bracket I just used the deburring tool and slowly drove it deep enough to make the rivet sit flush. The result was WAY better than using the CSK cage. I just did this on the outer holes but could have probably done for all the holes on the bracket.

The last task for today was to pull a stack of parts needed for the next steps and started deburring them and getting them ready for prep & prime. Here's the stack of vinyl coated aluminum.

Friday, January 14, 2011

Left Flaperon Finished

After adjusting the slightly bent skin from the transport to me and putting some rattle can primer on some overlapping aluminum areas and letting it sit for a while I was able to finish this piece of aggravation today. Not just that! I was also able to get out to the field and have some 70 minutes of pure joy in my RANS S-12S. It was a great day for flying and I was completely surprised that the Rotax 912S was kicking right into action after sitting around for way too many weeks now!
Well, back to the flaperon though. I had a hard time getting the vinyl off on one of the nose skins. It appeared that this one was from a different batch as the markings on the aluminum were in blue instead of red like all the rest. And this vinyl was a pain in the b*** to get off. I finally got my hair dryer out (ok, you know I don't need a hair dryer - it was my wife's, shhhh) and heated up the metal before pulling on the vinyl That seemed to help and made it just bearable.
The actual work on the skin was done quickly. After all, I was doing this the third time now.


The bottom had already been riveted and you see the last few rivets to go to finish the middle and inboard nose skins.
Soon the flaperon was completely riveted.


All that was left to do was to put the bushings in and that's when I had a bit of trouble. It appeared that I couldn't screw one of the bushings deep enough into the flaperon to match the 11/32" distance requested. I finally got the tap out and drove it just half a turn deeper to get this problem fixed. Weird though as I had drilled and tapped all 4 hinges the same way ...
I also added Loctite 243 after making sure the adjustments were correct. Now the flaperon is sitting on the work bench and waiting for the Loctite to cure.

Thursday, January 13, 2011

Seatbelt Lugs Riveted

or whatever other smart title you'd like to insert here. The work in this early section 21 is so unspectacular that it is hard to find a good description for what you have accomplished.
So what was it that I did today? Oh yeah, I assembled the flaperon mixer box, attached some nutplates to seat rib flanges and more will be following next time in the shop.

Here's how the four Seat RIb Assemblies look like after the seat belt attach lugs have been riveted to them:


The flaperon mixer box I'm not completely happy with. The problem is with the manual line saying torque to remove any play but allow for free rotation. Well, how free should the rotation be? I turned out with my box that a tad more than hand tight already significantly increases the friction when trying to move the arm in the box. As it uses a castle nut with a cotter pin to hold the nut in place this should be ok as the nut won't move. So this is how I did it for now, hoping this will feel right when I actually use the flap handle ...


And finally the nutplates in the rib flanges (I am sure, pictures like this will soon get very boring):


I'm on the top of page 21-05 and things move along quickly, and, yes, I am aware that this will all come to a screeching halt when I get to the longerons.

Wednesday, January 12, 2011

Seat Ribs Prepped and Primed

Today I had the opportunity to finish a large step in the building process that I had hoped to be able to finish during this week and by the end of the weekend - and I took it.
I started around 10am setting up the bench to do the prep work in the sun and escape the still a bit frosty temperatures doing so. I didn't want to start the prep too early so I'd have good temperature for drying the priming quickly and so I started unwrapping the flaperon skin to do my mandatory deburring on the skin and get it ready for riveting.
When unpacking it, despite the paper not showing any crack or tear, I immediately noticed that something wasn't right. The area where the skin is supposed to get connected to the inner flaperon skin was bent in an odd way.


And that wasn't the only problem as I found out after removing the vinyl. With seamers I was able to bend the connection backplate back to its original shape and as it will sit underneath the inner skin, I think it won't be possible to see it or pose a problem.


Both sides turned out to be ok.


But there was more, as I already said. Looking along the trailing edge of the lower part of the skin you could see slight pinches in the skin. I mark them for better visibility.


3 spots of slightly over stressed areas, just minimal enough to accept it for me. It looks like the trailing edge got pinched a little by the force of fingers. I told myself that I won't accept it if I bend the skin to shape I can still tell them from what I've done to the trailing edge. This wasn't the case, so I went on and deburred the whole thing to get it ready for assembly.
By the end of that step time was up to get the prep work going to be able to spray later in the afternoon to get the peak temperature.
That all went well and at around 3pm I had all the parts for the next steps covered with primer.


As there still was some daylight left and the day was nice and warm I decided to fix a problem I had discovered with the center section. I had misread where the wings would go and which part of the section would be plainly visible and so I made the wrong choice to not prime the U-shaped area of it. I thought the wing spars would cover this area. Now I had just learned that this area will in fact be exposed and the landing gear will sit right underneath it. The wing spars will go just in front if the U-shaped section and would like to paint the U eventually.
As the fuselage is still light enough to get carried around easily now is a good time to fix the primer problem and so I did this as well.


This leaves only one area unprimed yet which is the tunnel for the landing gear right underneath the U and the reason is that today I shot the one component primer from Stewart Systems and for the tunnel I want to have the epoxy primer as a fuel leak would drain right through this tunnel. No big deal, as I have done all the spraying work I had intended to do on the weekend I can easily shot the epoxy primer on Saturday and finish the fuselage priming off.

I closed the shop at 6pm, quite a long day but a lot of fun - again. And when I closed the door I saw the stack of parts waiting for me next time I get there:

Tuesday, January 11, 2011

Finished Seat Rib Deburring

So, I spent a bit more time on deburring those ribs and small parts for the next assembly steps. I hope to get them ready for priming in the next days so I can get the primer on over the weekend.

Sunday, January 9, 2011

Deburred Seat Ribs

Now it was on to the old game of finding parts, deburring parts, stripping vinyl off and getting the parts ready for prepping and priming. No photos taken as there really wasn't much to see but spent about 2 hours in the shop just doing this.
I hope to find some time to prep the parts during the week so I'd be ready for priming for the weekend.

Saturday, January 8, 2011

Aft Fuselage Section Done

I had another nice building session today. The floor parts came together a bit more and it starts to look like a piece of an airplane now. It is also getting a bit heavier, giving me an idea that soon it will be a hassle to move it around.
The first step was to install more nutplates, something I will get very used to in the near future.


They were all the squeeze type, so no problem and quite easy to get at, except for the ones next to the center section, but with a little fiddling even those worked out. I really noticed the need for the smaller flat dies starting with the flaperons and now with the fuselage, so if you get the big ones with an Avery kit, go and order smaller ones as well as you will need them!
The next step was riveting the rear spar receptacles to the rear bulkhead. Again the wedge tool from Avery proved to be very helpful, also to seat the rivets before pulling them.


And quickly they were riveted.


Then it was on to the bearing brackets. Those had to be put together first and after my bad experiences with these kind of brackets and this kind of bearing when I built the rudder, I sure checked them first in a vise to see if they'd still be movable when the rivets would squeeze them tight. This time they were fine and even with some of the primer in the bearing ring, there was no issue.


It only took a moment before the pneumatic riveter had squeezed them perfectly and turned them into this:


Then the rear bulkhead was about to get riveted to the rest of the structure. Clecos were put in place.


Hm, see that? I mean the slight curvature of the ribs, that increases the further you get to the left or right of the middle? Take a closer look...


Yeah, it's not an illusion. The cuts in the flanges of the outer ribs allows the lower flange to bend a bit and shape to the taper of the fuselage while the upper flange is stiff and straight. Very cute detail.
Anyway, don't forget to put the inner ribs on that will hold the bearing brackets before the you pull the rivets on the rear bulkhead! Ask me how I know... This is how it should look like:


It is then that you rivet the last two floor ribs on.


And that all was the easy part. Now you have to be really careful as the next step looks easy but caused me a lot of pain trying to drill out two of these hollow rivets for nutplates - you know the type that usually has it's mandril breaking off.
Well, this time it was actually me causing the problem but, boy, was this one hard to fix. So you want to avoid this happening to you. You are again supposed to install more nutplates. The ones that go into a flange that is accessible from the outside are the easy AD3 squeeze type. The ones that are on the bulkhead are not accessible for squeezing and so they use the pop-style CR264 rivets. I made sure to use a riveter that doesn't have a problem with the mandril breaking off but I overlooked twice that the rivet wasn't actually going through the nutplate's rivet hole before pulling the rivet. The rivet instead caught against something in the hole and slightly pushed the nutplate away. Something I didn't feel as I was pushing the rivet as it was in the riveter, using the riveter as a handle. So I pulled it outside of the nutplate but inside the hole in the skin.
Easy fix you might think. Just drill it out. Yeah, that's what I thought - until I saw the rivet spinning in the hole when trying to drill it. The reason is that the rivet has such a light pressure on the hole that it easily slides in it. I don't want to go into too many details but it took me almost an hour getting those two rivets out and doing this again. You bet I will triple check in the future that these little devils are correctly seated before pulling the trigger again!
This is how it came out despite this mess:


Well and then it was on to the last chapter of which I only made a photo once I was done. Maybe because of my blood pressure still being high after this rivet drill out incident or maybe because I thought you might get tired looking at too many small steps being photographed. It really wasn't much to accomplish that last step anyway, as all the rivets were easy pull types.


Bearing brackets and the pulley bracket assembled. And that - for now - concludes the aft fuselage floors.